No matter whether you catch a giant northern pike while ice fishing, or a big largemouth bass during the heat of summer, it helps keep the memory alive for years to come if you have a few great photos.
Need a little help behind your camera or smartphone? No problem — Fish Photography 101 is now in session. FYI: I apologize in advance that all of the photo examples shown in this article feature images of my family. I spend 99 percent of my on-the-water time with them, and they catch more fish than I do.
1. Lighting is everything.
While striking photos can sometimes be created by shooting toward the sun, it’s far easier to keep the sun at your back so it lights up the fish and the angler. And keep in mind that we don’t have all day to experiment with camera settings and exposure. When I taught my kids how to handle and release fish, I explained to them that in terms of fish health, the time a fish spends out of the water is similar to the time you’d spend submerged under the water. While this isn’t exactly true, it still illustrates my point: If you plan on releasing a fish, it’s best to limit the amount of time it is held out of the water. This is especially true when ice fishing; severe cold can harm a fish’s eyes. So, put the sun at your back and start shooting. If you aren’t getting pics that look vibrant, then hold the fish in the water while you troubleshoot the lighting problem. One more tip regarding fish health: Always wet your hands before holding a fish. Grabbing a fish with dry hands (or leather gloves, etc.) removes a fish’s protective slime layer.

2. Fill the frame.
Sure, sometimes it’s great to tell the whole story with a backed-off pic that includes splendid scenery, but you’re almost always better off filling the frame. Rather than rely on a camera or smartphone zoom feature, I simply use my feet to get closer or farther away. Include the entire fish from head to tail; it’s okay to crop out a bit of the angler’s head and hat if necessary. Experiment with angles, too. In general, pics taken from a low angle are more interesting than those that look downward on a fisherman.


3. Rotate the fish to showcase its best features.
With the light source at your back or to the sides, have the angler rotate the fish so its colors and scales really pop on camera. Slight adjustments can make all the difference, so instruct the angler with specific commands. Remember, the fish is out of the water and time is critical; this isn’t the time to have a debate regarding who is in charge of the photo session. As the cameraman, take the lead. Here are a few examples of instructions I often use when shooting pics of my friends and family with fish: “Raise the pike 2 inches; turn the side of the crappie slightly toward the sun; move the bass 3 inches to your right.”

4. Hold fish out slightly, but don’t overdo it.
This is one I have to work on when my kids are holding fish for pics. Perhaps it’s because they are from the Instagram generation, but my two sons sometimes want to hold everything out so far that the true fish size becomes irrelevant. A big fish is a big fish — there’s no reason to exaggerate it. Present the fish with a hold that doesn’t harm the fish — meaning that big pike, muskies, walleyes and catfish should be held horizontally, not vertically. Some species, such as bass and panfish, are fine to hold vertically. Hold fish in front of you but don’t overdo it by trying to make a 3-pound bass look like a 5-pounder. And if you catch a 23-inch smallmouth or 16-inch crappie, there’s no reason to exaggerate its size. In fact, by holding it normally, everyone with knowledge of the species will immediately understand and appreciate your accomplishment.
5. Shoot numerous photos.
The best part about digital photography over the old film days is the ability to shoot a nearly unlimited number of images. Keeping in mind that you need to limit the amount of time a fish is out of the water, be sure to take a lot of photos. What constitutes “a lot?” For example, if my son catches a big pike during the summer, and we plan to release it, I’ll probably take 5-10 pics in 20 seconds on my smartphone. Then I’ll have him place the pike back in the water, usually in a large net. I’ll check out the photos to see what I think, and I’ll hand him the phone, too, so he can scroll through them. Depending on his opinion and mine, we might be done shooting pics, or we might start round two and take another 5-10 pics, again keeping the pike out of the water for no more than 20 seconds. Then, the pike goes back in the net/water and we repeat the photo review process. Care of the fish is No. 1; getting a good photo is No. 2. Once we’re satisfied that we have good images, we release the pike.

6. Remember the ‘Rule of Thirds.’
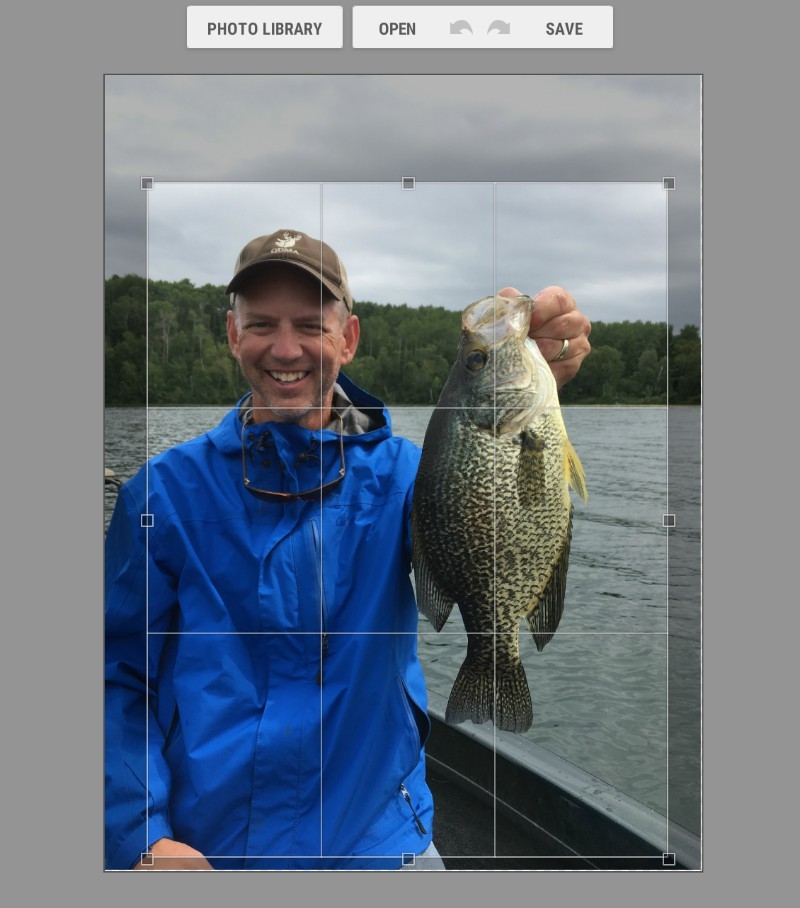
Click here for a quick explanation of the Rule of Thirds. While there are times when the rule doesn’t apply to fishing photography, it’s a good idea to keep it in mind when composing and editing photographs. Note that I included the word “editing” in that last sentence. You don’t necessarily have to keep the Rule of Thirds in mind as you snap pics in the boat or on the ice, but it’s smart to remember it as you crop/edit pics later either on your smartphone or laptop. When it comes to taking pics of anglers and their catch, sometimes it’s best to keep them in the middle of the frame, but you can still use the Rule of Thirds with the horizon line or water line. See pics and captions below for specific examples.
One note on cropping and editing photos: I use the free online tool/website www.ipiccy.com to edit all of my photos. It’s intuitive and easy to use. Simply click the “Edit a Photo” button to get started. I use iPiccy to crop images, alter the exposure, fine-tune the color, etc. I especially like that the cropping tool overlays grid lines that follow the Rule of Thirds (see photo immediately below).
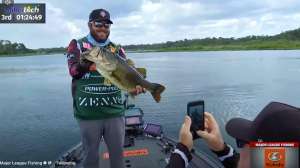
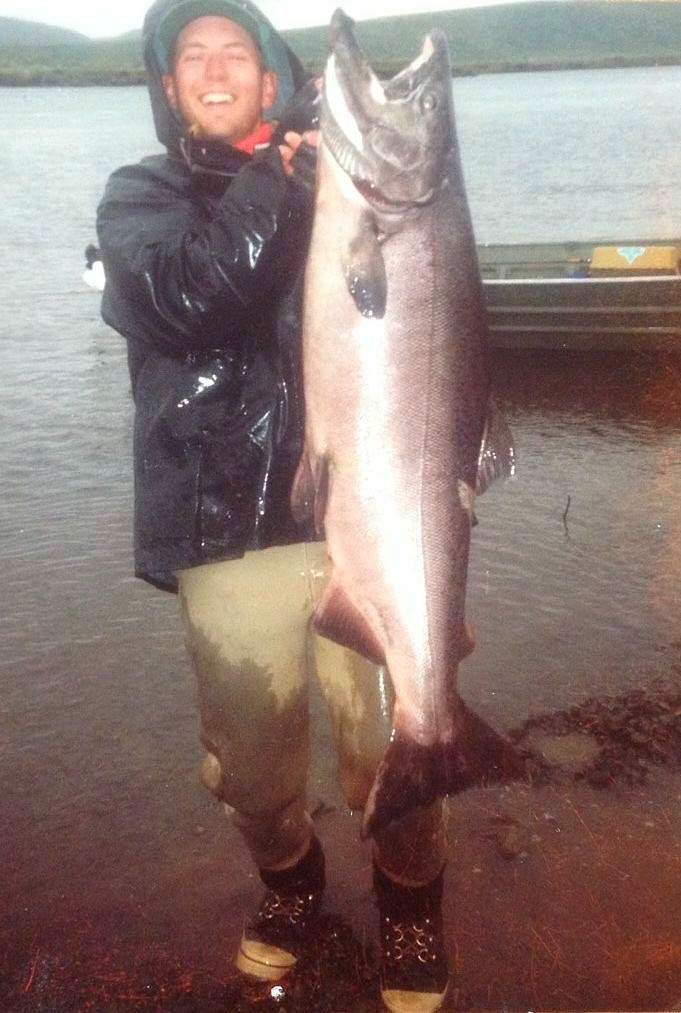
Below are several more examples of fishing photos. Check out the included captions for comments on composition, lighting and more.