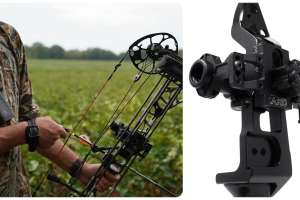
The foundation of all successful bowhunting is simply this: Make sure your bow has been properly set up and tuned, and that you have it sighted in with precision. At first blush this sounds obvious, does it not? Yet every year I meet bowhunters who have done neither.
It’s impossible to dive far into the weeds on both topics in a magazine-length article — you can find a lot of really good information watching YouTube videos — so here I’m going to concentrate on giving you some tips gleaned over a lifetime of tuning and shooting compound bows as a bowhunter, not a competitive target shooter. I’ve shot at a lot of targets, but only to train myself to be a better bowhunter, not to win some trophy.
As a basis, we’re going to assume your bow has been set up correctly; that is, the arrow rest is properly installed and timed (if it’s a drop-away), the string loop tied-in perfectly level with the rest, the peep sight installed at the right height for you, the cams timed and your sight installed square. If you don’t have the tools or skills to do this, take the bow to a pro shop and have an expert do it for you. Ask them if you can watch. It will be the best money you’ve ever spent.


Bow Tuning
The goal of bow tuning is to have your hunting arrows — with broadheads installed— flying like laser beams, with no wiggle or wobble that will create inaccuracies.
Paper tuning is the foundation of bow tuning. I start paper tuning with field points, and while some people still like to use a bare shaft (with no vanes), I don’t go there. If you do, make sure you add a bit of electrical tape to the rear of the shaft that weighs the same as the vanes you’ll install later.
Most modern compound bows are not that difficult to tune, assuming you have chosen arrows with the right spine, for your draw length/draw weight combination. There are charts that help you select the right spine. I’ve found that when the spine chart shows you’re on the edge of using, say, either a 400 or 350 spine, it’s better to go stiffer. There are times when a bow can give you fits, though. For example, I had one of the hottest new compounds on the market last year, and neither myself nor my pro shop guru could tune it. We tried all sorts of different arrows, draw weight adjustments, whatever, over several weeks, and it just wouldn’t work. I sent it back to the factory because unless my bow is perfectly tuned, I will not take it afield.
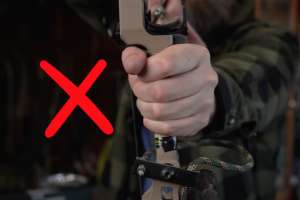
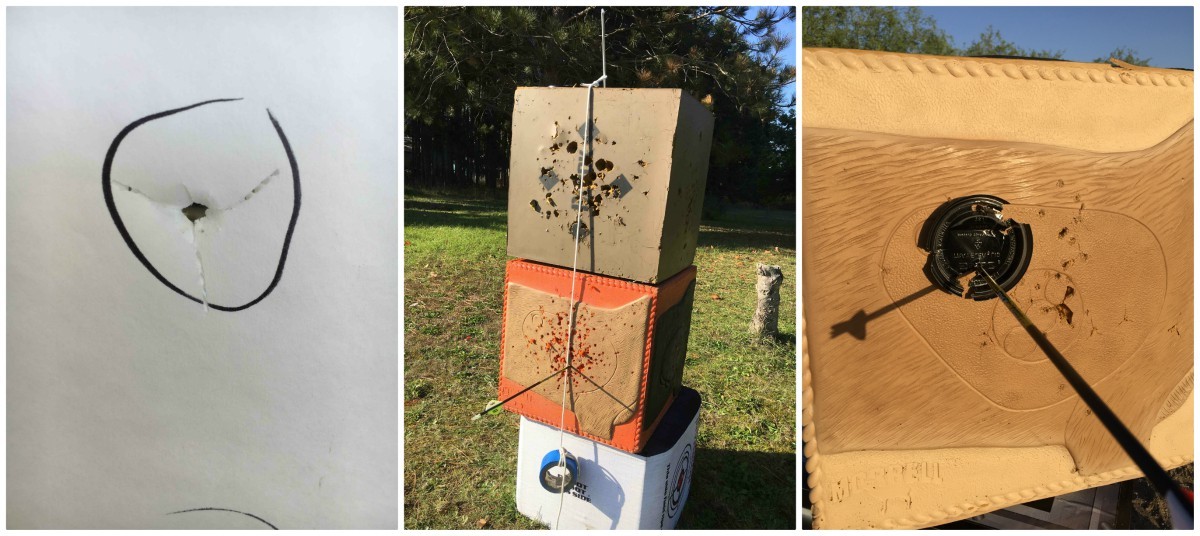
The goal of paper tuning is to have arrows that cut a “bullet hole” through the paper. If the vanes tear left or right, up or down, or a combination thereof, you need to adjust the position of your arrow rest until the problem is corrected. Generally speaking, if the arrow tears right, you move the rest left, and vice versa; if it tears high, you move the rest up, and vice versa. On some modern bows, I’ve found I have to suck my rest so tight to the riser that there is a risk of vane contact with either the riser or cables, which means I need to sometimes rotate my nocks a little bit. You must concentrate on your shooting form as well, as torqueing the bow or a poor release will mask how the arrows are really flying.
Speaking of shooting form, you might have a pro shop staff or buddy tune your bow for you, but in the end, you need to shoot some arrows through paper as well. That’s because everybody holds their bow and releases their arrows a little differently, which means you may have to make some minor adjustments so that, in the end, the bow is tuned perfectly for you.
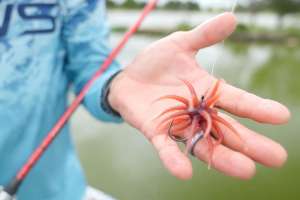
I’m a believer in “walk back” tuning. I begin shooting through paper at about 10 feet. Then I walk it back, shooting my final arrows through paper at 15 to 20 yards. When I get bullet holes with field points, I then attach my hunting broadhead and go through the process again. This can be tough with mechanical heads that use rubber bands or plastic collars to hold blades in place and don’t have a system that allows you to shoot them as practice heads, but it is worth it. Thankfully, if the bow is tuned with field points, the mechanicals often are as well — but you must be sure. With replaceable- and fixed-blade broadheads, there are almost always some differences. Regardless, always do your final tuning with the same broadhead-and-arrow combination you’ll take to the woods.
Also, if you will hunt with lighted nocks, make sure you tune your arrows with them in place. Lighted nocks weigh more than standard nocks, and I’ve found that exchanging one for the other can affect arrow flight enough to tune specifically for them.

The above steps will “macro” tune the bow. To “micro” tune rest position and increase accuracy at extended distances, try this. On your target wall, hang a string with a weight attached so you have a plumb line. Mark a bull’s-eye in the middle of the line and at the top section of the target wall. With your 20-yard pin dialed in, take a shot at the bull’s-eye. Now walk back to 30 yards and take another shot at the bull’s-eye with the 20-yard pin.
Do this same process at 40, 50 and 60 yards. As you take the longer shots, if your arrows are drifting left or right, you need to adjust your arrow rest the opposite way. As you adjust your rest a little at a time, you should notice that your arrows will stack differently. Continue with micro-adjusting the rest until the arrows land within the plumb line. When your arrows stack perfectly, lock in the rest. This is your perfect center shot.
Also, as the hunting season progresses, I’ll shoot an arrow or three through paper every now and again, just to make sure nothing has changed. After my bow is tuned, I take Magic Markers and mark everything — peep sight, limb bolts, arrow rest, sight position, etc. — so I’ll know at a glance if anything has moved. And believe me, a bow has a mind of its own, and things will wiggle loose or move slightly from time to time. I also make sure all bolts and screws are snugged down tight, and check them periodically as well, because they will back themselves out over time.
Sighting In
Sighting in a hunting bow takes time. It’s not something you can do in a day, especially if the goal is to set several long-distance pins. Mainly that’s because you can shoot only so many arrows until fatigue sets in and your form suffers. When that happens, all you’ll be doing is “grooving that bad swing,” as golfers say about hitting too many balls on the range at one time.
To begin with, ensure the sight was installed properly, and the sight pins are in line with the bowstring and arrow. The vertical and horizontal adjustments should be at zero, or a place where you have plenty of room to adjust every direction.
I start at 10 yards with the top pin, just so I know I’ll hit my target. The basic rule is, “follow the arrow,” that is, if the arrow hits left, move the sight left; if it hits low, lower the rest, and so on. Once I’m dead center in the bull’s-eye, I move back to 20 yards and readjust so the top pin is dead on at 20 yards. I set my 7-pin sight so that my pins are dialed in from 20 to 80 yards, in 10-yard increments. Some western bowhunters set the top pin at 30 yards. Single pin users should follow the same procedure, marking their sight tape accordingly.
As mentioned earlier, this takes time. For me, if conditions are good (no wind), I can usually get all my pins dialed in the way I want them over the course of three or four sessions.
What’s the Second and Third Axis?
More advanced (and expensive) bowsights have the ability for you to adjust their second and third axis as well. The second axis refers to the clockwise/counterclockwise position of the sight housing. If your sight has such an adjustment, you want to adjust it so that the pins are plumb with your bow and bowstring. The third axis refers to the perpendicular orientation of the sight in relation to the bow’s centerline. Adjustment of the third axis swings the bowsight’s head in and away from the archer as if it were on a hinge. If the third axis is not adjusted, when an archer tilts the bow up or down for a shot, the bowsight’s level will not read true and the shot will be off its mark. When the third axis is perfectly adjusted, the compound bow will remain in perfect vertical alignment during level, uphill and downhill shots.
Adjusting for the second and third axis requires using a level and a bit of expertise. Again, you can find YouTube videos that show how to do this or visit your pro shop and have them help you.
Little Things
I’m old, have tired, nearsighted eyes, and wear bifocals most of the time. But for hunting, I wear single vision glasses that correct only for my distance vision. If I need to read something up close, I just look under my glasses. What that means is that, for me to be able to see the target clearly, my sight pins are a bit “bloomed,” or fuzzy and enlarged. To mitigate that as best I can, I use a bowsight mounting bracket that allows me to get my sight as far away from my eyes as possible.
When sighting in, I need a dark target spot that’s large enough that I can easily see when my green sight pins are centered on the target, and not so small that my “bloomed” pin blots it out. So, I take the black tops of to-go coffee cups and use them as my target spots for mid-range practice. At longer ranges, I use the 4.5-inch top of a Big Gulp cup, painted black, or cardboard cutout to these dimensions and painted. Not only does this allow me to more precisely sight in my bow, but it also allows me to move the spot around the face of my target, which keeps me from shooting out my targets. It’s a great system.
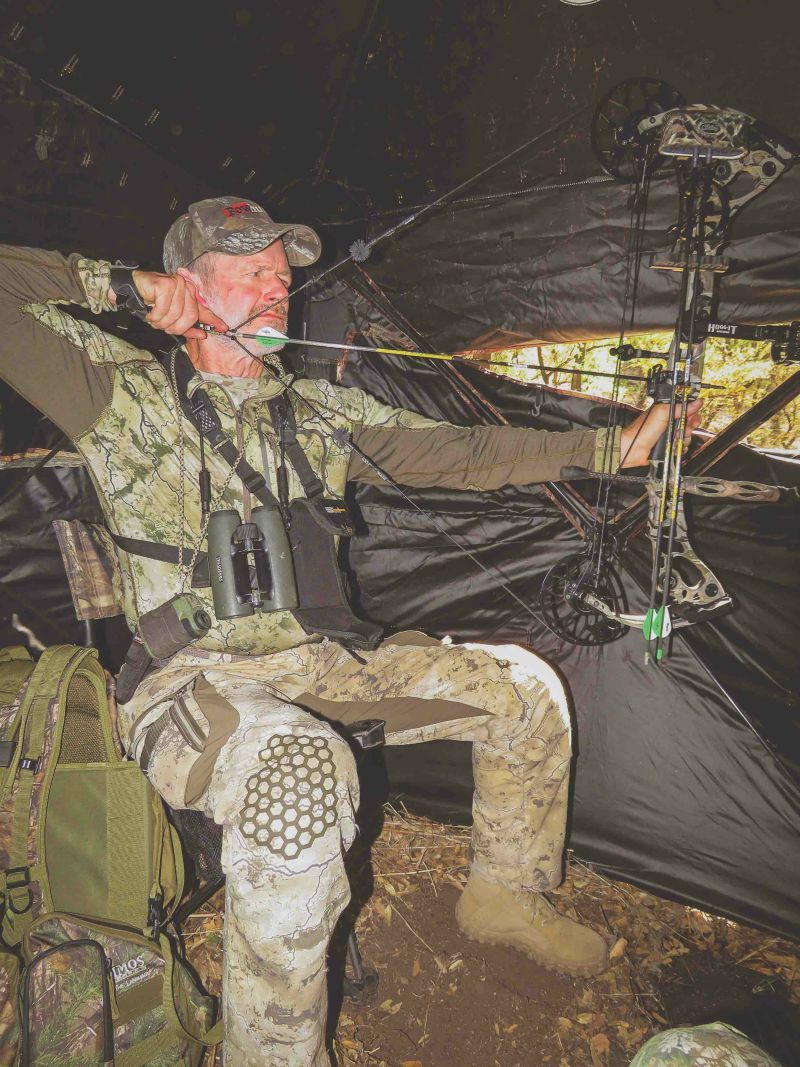
I also always do what the old fitness gurus call “specificity training,” meaning I train my shooting for the specific task at hand. Treestand hunting? I shoot from a chair at downhill targets elk or mule deer hunting? I shoot from my knees a lot and do a lot of uphill and downhill shooting. Ground blinds? Again, shoot from a chair. And there’s nothing better than going to the nearest 3-D range and shooting the walking course at life-sized animal targets.
I also make it a habit to only shoot one arrow at a time. This emulates real hunting when the first arrow is the one that counts. So, no matter the distance, I shoot one arrow, then go pull it, then walk back and shoot another. This takes time, sure, but keeps me from “grooving that bad swing,” and helps me concentrate on each shot I take. When I find myself losing my concentration or getting fatigued to the point my shooting forms suffers, I pack it up for the day.
I weigh every one of my broadheads, as well as my finished hunting arrows. I want all the arrows in my quiver to weigh within +/- 5 grains of each other, and preferably less. If they don’t, precision accuracy at distance becomes problematic. I also chronograph my bow-and-arrow setup. I’ve shot the same basic arrow speed (somewhere between 275 and 290 fps) for decades. This not only helps me quickly set my sight pins, it’s also a speed at which I know my arrow drop and where to hold when I have to gap my pins at odd distances.
The Bottom Line
Setting up the bow properly, choosing properly spined arrows, and taking the time to get it perfectly tuned are foundational and cannot be compromised. Only then can you get the bow sighted in to consistently place the arrow where you want it. This takes time and great attention to detail. This is why, at the end of the day, bowhunting is so satisfying.