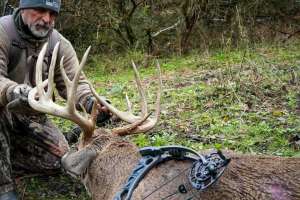

Okay, I’ll just come out and say it: In my opinion, the vast majority of bowhunters practice poorly, at least in terms of preparing to make effective shots on woodland whitetails. Let me explain.
In part, I’m talking about practicing from elevated positions — assuming you often bowhunt from treestands. The view of a deer — or 3-D deer target — is different from a height of 15-20 feet than it is from the ground. Only by practicing at a 3-D deer target from an elevated position will you train your brain to pick the correct spot for your arrow to penetrate both lungs of a whitetail, especially from various angles.
As you pull arrows from a 3-D deer target, be honest with yourself about which arrows would have impacted shoulder bone. You’ll quickly learn, as I have, that waiting for a slightly quartering-away shot allows your arrow to penetrate both lungs while staying behind the shoulder bone.
I don’t have the luxury of placing a ladder stand in my backyard for elevated archery practice, but I can shoot from my backyard elevated deck (about 12 feet) and when I stand on a folding step ladder/stool on the deck, I can mimic a 15-foot-high treestand shot.
The Shot Clock Is Ticking
Just as important as practicing from an elevated position is shooting quickly at a slow-moving target. No, I don’t have a DIY archery target that moves, so this one requires your imagination. (Keep an open mind and hear me out.)
I stand only 15 feet (not yards) from a large range bag target; my favorite is the Morrell Yellow Jacket MOD Pro (29 inches wide, 31 inches high). I stare at the left edge of the bag and imagine I’m in a treestand during early November in the Wisconsin hardwoods. A mature buck has suddenly appeared out of nowhere, and he’s walking steadily but slowly down the trail; he’ll be in my one-and-only shooting lane in 3 or 4 seconds.
I draw quickly without raising my bow above shoulder height to minimize movement. I find my anchor in an instant and then begin slowly moving my bow from left to right across the large bag target, tracking the buck’s walk (in my mind). Just before I reach the right edge of the target, I make a fawn bleat — maaaaaaaapppppppp!
I imagine the buck stopping in his tracks; I take a split-second for my pin to find the correct spot on his chest (on my bag target, it’s a 1-inch diameter bull’s-eye), then I quickly squeeze the trigger.
All this must happen in no more than 3 seconds. Why? Because the vast majority of the rutting bucks I’ve killed in my lifetime have presented a similar scenario to the one I’ve described. Sure, sometimes I’ve had 7 seconds, maybe even 10. But I usually have only 3 or 4 seconds to close the deal.
There’s no time to float the pin over the bull’s-eye, control your breathing, and slowly build pressure on your mechanical release with your back muscles for a surprise release. This might work well for you during Wednesday night shooting league with your buddies as you fire at bull’s-eyes from 20 yards, but that’s not realistic practice for deer hunting — at least for me.
On the Morrell Yellow Jacket MOD Pro, I use the target face shown below. As I imagine the buck walking through the forest toward my shooting lane, my bowsight pin moves left to right along the row of top circles, and I usually stop the buck at the circle third from the right. At times, I’ll pretend my shooting lane is wide enough that I have time to bleat twice. I bleat hoping the buck stops on the circle third from the right, but if he ignores it, I bleat much louder and then shoot when he stops at the circle second from the right. You get the idea.
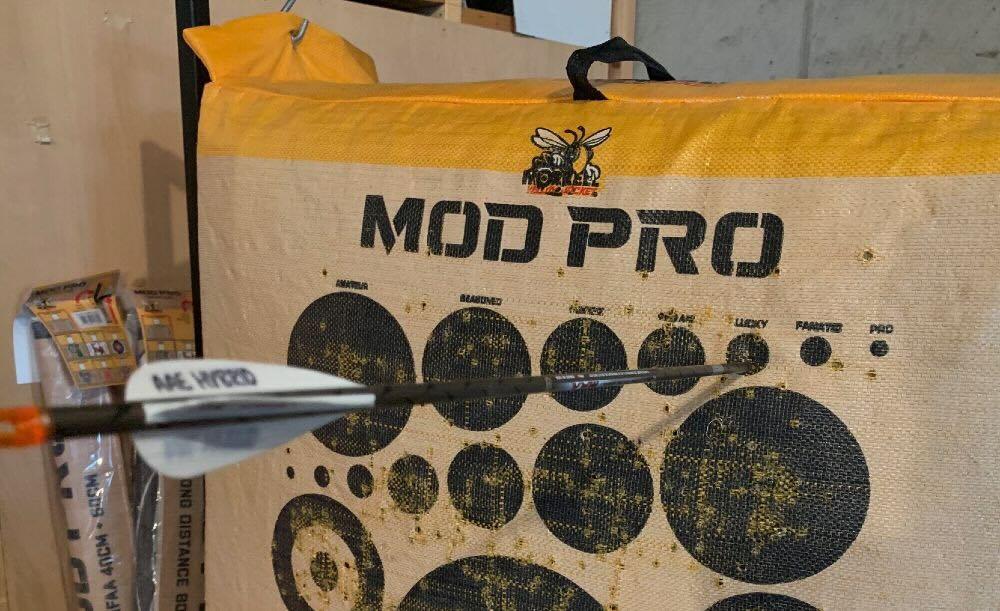
I alternate between pretending a buck is moving left to right (along the top row of target circles) to a buck moving right to left (along the second row of circles). I often bleat to stop the imaginary walking buck, but if he’s moving slowly enough, then I’ll shoot him walking. I can do all this real-life practice using these two rows of circles on the Morrell MOD Pro, all from a distance of 15 feet.
You can also add elevation to this “moving buck” scenario by standing on a folding step ladder/stool. Again, keep the range close (no more than 15 feet) so you can literally move your bowsight pin across the face of the large bag target.
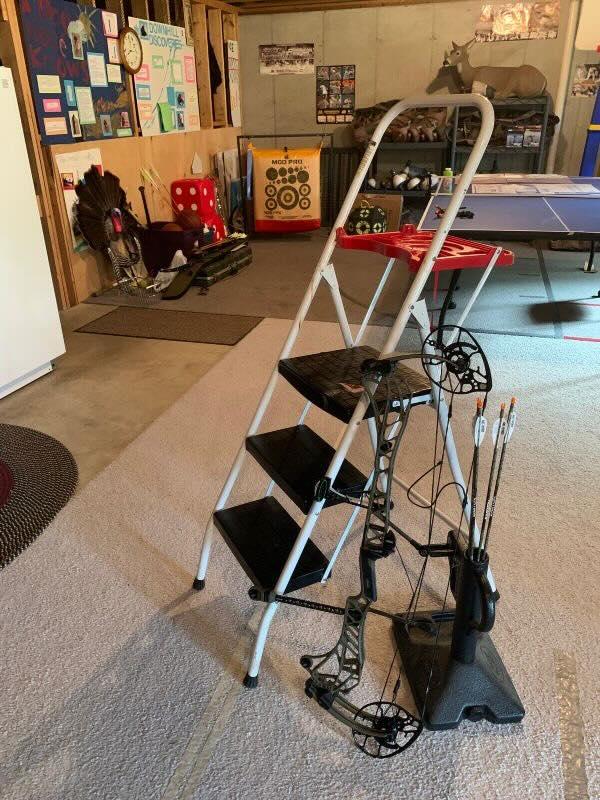
Tip: This type of practice works best solo. If two or three of your buddies are with you, none of you will be able to truly imagine a buck moving through the forest as I’ve described. You’ll likely be too self conscious and feel silly.
This close-range, walking-buck scenario has worked incredibly well for me for decades. Give it a try and I think you’ll be pleasantly surprised with the results.
P.S. One tremendous advantage to this close-range practice recommendation is you can accomplish it indoors regardless of your home’s floor plan. All you need is enough room for a 15-foot shot!
Check out the video below from Chris Bee where he dives into the details about the Morrell Yellow Jacket MOD Pro and the various wraps you can attach to it.