 My father had, and has to this day, a very simple theory when it comes to firearm maintenance. “If you take it into the field, it gets wiped down,” he’d say at the end of the day’s hunt. “If you shoot it, even once, it gets broken down and cleaned.”
Fortunately for everyone who takes a shotgun into the field or onto the trap range, shotgun cleaning and maintenance doesn’t have to be complicated. In fact, there’s only three things that hunters and shooters need to know in order to keep their favorite scattergun looking good and performing at its best — what to clean it with, how to clean it, and how to put it away. Knowing these three things, there’s no reason why a 30-year-old shotgun like my father’s shouldn’t look as good as a 3-year-old one. Here, age really doesn’t matter; it’s all in how well the gun ages.
The Ultimate Gun-Cleaning Kit
Putting together an effective cleaning kit is neither difficult nor expensive; in fact, just the opposite is true. And once compiled and organized, a good kit will, with minor periodic refurbishings, last for the life of both the gun and the shooter. Or in the case of some traditional, hand-me-down wooden cleaning rods, longer than either one.
The tools that go into the ultimate gun cleaning kit aren’t many, but they’re important to the success of the task, as well as to the ease with which the job’s completed. And as we all know, easy jobs are also the most likely to be performed regularly.
For starters, the kit needs a good, quality set of screwdrivers. While screwdrivers might only come into play occasionally during routine shotgun maintenance, they’re indispensable nonetheless for performing the proverbial 1,001 other jobs that will inevitably come up during the process. The set in my personal kit is designed by the folks at B-Square in Fort Worth, TX, and comes complete with an excellent selection of flathead, Phillips, and hex head tips, all of which are magnetic — a plus when working with small screws and bolts — and which fit into a comfortable and very durable handle.
Next are the cleaning rods, patches and brushes. When I was growing up, Dad swore by a wooden cleaning rod. Today, however, wooden shotgun cleaning rods are more often seen in the hunting memorabilia collections of traditional gunners than they are around the cleaning table. Most have been replaced by sturdy, breakdown versions made of light steel or aluminum, or in some cases, strong and very unbreakable synthetics such as Kevlar or graphite. Regardless of the style, a cleaning rod should (1) break down into easily-transported sections that can be either carried in the hunting vehicle or taken on an out-of-town hunting trip as well as used at home, (2) have a strong, secure handle that won’t twist or torque, (3) feature half-inch-minimum threads and sockets for strength and resistance to bending in use, and (4) have a selection of compatible needle tips and brass brushes. The needle tips are used with patches, usually soft cotton pieces of fabric torn from old tee-shirts, or, better yet, old thermal underwear, while the brass brushes are employed when heavy duty cleanings like the removal of powder or wadding build-up in the barrel, breech, or on the bolt face becomes necessary.
In my kit, I keep a selection of solvents and lubricants, each used depending on the time of year and the in-the-field conditions. For hunt-to-hunt cleanings and routine maintenance, WD-40 works wonders, both as a rust inhibitor and as a lubricant. During cold weather, however, when WD-40 occasionally has a tendency to gum up and impede cycling, I’ll switch to what I’ll call an “oxymoron oil,” Remington’s Rem Dri-Lube. This spray-on lubricant goes on dry, hence the name, and contains Teflon, which creates an invisible almost frictionless barrier between the metal workings of my autoloader and keeps the gun operating flawlessly even in below zero temperatures. And for that end-of-the-year cleaning, I’ll switch gears and use a penetrating catalyst, a group of synthetics into which the popular Liquid Wrench falls. These penetrating lubricants get into every nook and cranny, and literally flush any accumulated unburned powder and other residues from the gun’s interior. It might sound like overkill, but it all goes back to having the right tool for the job at hand.
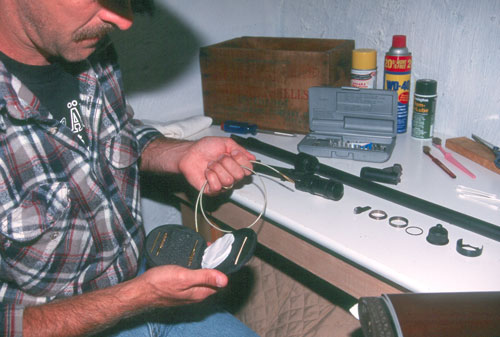
Under accessories, I have several items, beginning with a small selection of brass drifts and punches. These are used to remove pins and studs, such as the pair of trigger group pins on my Remington 11-87. To accompany the drifts and punches, I have a small hard-plastic hammer and a short section of half-inch soft pine board, both of which can be used interchangeably for removal and reinstallation of pins and in any cases where a little extra persuasion might be called for. Three different toothbrushes — soft, medium, and extra hard bristle — get called on to remove debris from hard-to-reach places, as well as to extract the mud that inevitably gets into the checkering during each and every waterfowl hunt. My kit also contains a piece of fine-grade steel wool, an excellent tool for removing the burned powder and gas residues which form periodically around the O-ring collar of my 11-87, as well as a Zip-lock bag filled with cotton swabs, used for any one of a million different gun cleaning projects.
Shotgun Cleaning 101
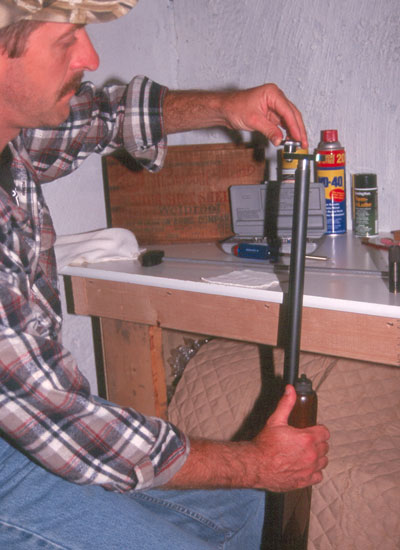
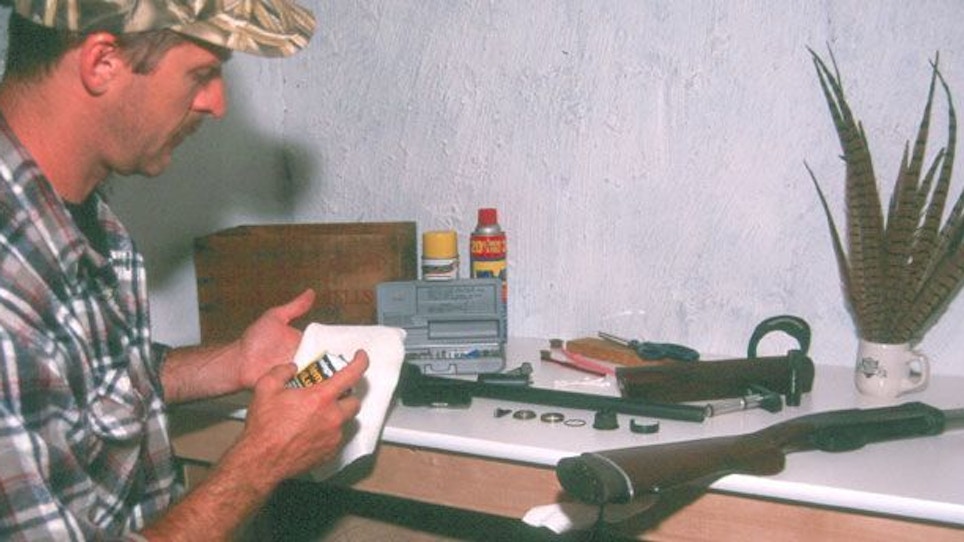
 The act of shotgun cleaning itself is a simple matter. The secret, if there is one, is to perform the process the same way each time. When cleaning my Remington 11-87 autoloader, for instance, first the fore-end, the gas cylinder collar, and barrel are removed, followed by the O-ring and the gas pistons. Then the operating handle is pulled from the bolt, and the action bar assembly with the bolt is pulled from the breech. Should weather or time of year dictate an in-depth cleaning, both trigger group pins are punched out, and the trigger group along with the link are removed. As each is removed, it’s placed on a clean white towel. After each part is cleaned, the shotgun’s reassembled. Monotonous? Perhaps, but this method allows a complete and thorough cleaning, and it also provides me with the opportunity to visually check each major operating part for signs of wear, a step that on more than one occasion has saved me from a hunt-ending break-down or malfunction.
Year-end cleaning involves little more than a final in-depth going-over as the shotgun is prepared for long-term storage. With my 11-87, this means that the trigger group, trigger group pins, bolt, gas pistons, and gas cylinder collar all go into the dishwasher with a little bit of Calgon and a whole lot of the hottest water I can get out of our water heater. Once finished, the parts are removed and given a final drying, with both the bolt and the trigger group getting the once-over with a hair dryer to make sure all the water has been forced from the smallest nooks and crannies. Now dry, each part is wiped with a clean, soft rag saturated with WD-40. The barrel is punched out and lubricated inside and out, and the gas ports reamed with a pipe cleaner to remove any powder residue. Before reassembly, the magazine tube and the breech — again, in and out — are wiped down and likewise lubricated. Once fully assembled, the entire shotgun is again wiped down, including the stock and fore-end. It’s been my experience that a light coat of WD-40 on both stock and fore-end during the season and prior to storage helps prevent drying and cracking, and has had no ill effects on the color of the wood; however, some expensive woods might be discolored by such a process.
Shotguns prepared using the end-of-the-year method described above are ready to go into storage; however, many questions are raised about how and where such guns should be stored. After such a detailed cleaning, our firearms are slipped into a silicone-impregnated gun sock — I make my own by purchasing inexpensive camouflage gun covers, putting them in a Zip-Lock bag, and misting the bag full of WD-40. Shaking the bag every half-hour for two to three hours ensures complete coverage – and stored in a hard-sided, locking gun case, two guns per case. Into the case, I place a clean, folded rag that has been lightly sprayed with WD-40, as well as two or three packets of crystal silica gel. Both the rag and the gel absorb any moisture that may get into the case, while the gun sock provides a final layer of protection. The cases are then stored in dehumidified room that can be temperature-controlled during periods of radical weather fluctuations or in cases of high humidity. Once every two months during the off-season, the guns are checked, and the cases marked with the date of the inspection.
Is it a lot of meaningless, Type-A work and worry? I don’t think so, but if anyone needs a little more convincing as to the validity and importance of these routines, there’s a 16-gauge Remington 1100 in the closet that looks as good today as it did in 1979 when my father bought it for me. And, yes, it’s in a sock.


