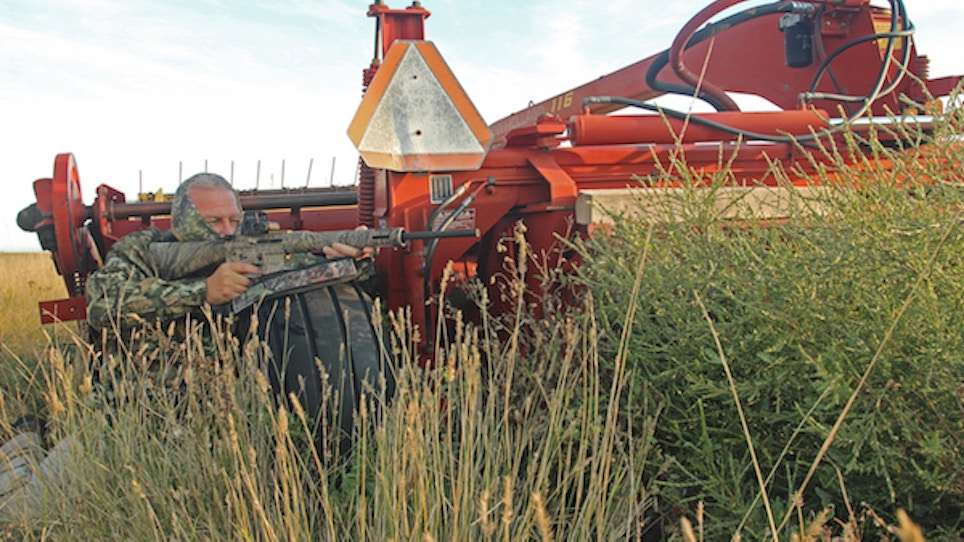
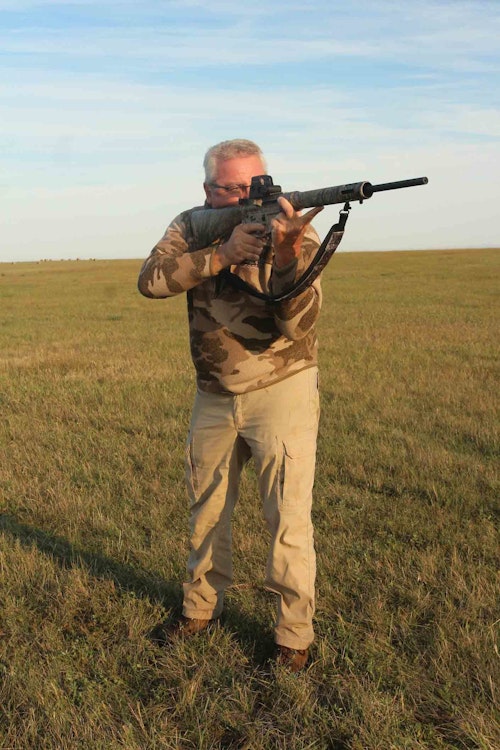
I don’t know about you, but I spend a considerable amount of time during the summer at the local gun range, sighting-in guns, practicing and just plain plinking. It’s a great way to burn off a little stress and fine-tune my equipment and shooting skills for the upcoming seasons. But there’s one thing that always baffles me: I can’t tell you the last time I saw someone practicing from the shooting positions they’ll likely encounter during a hunt. Too many hunters are content to sight-in their rifles from the bench, punch a few groups and call it a day. They don’t seem to realize that it could cost them big when they’re forced to make a quick shot in the field from a position they’ve never practiced.
First off, I want to be clear that it is important to sight-in your rifle from a bench. Look at it as the “control” factor, in the sense that it provides a baseline for how well you can expect your rifle to shoot. If the rifle is on a solid rest and your trigger finger is reasonably true, you should have a good indication of where your rifle will group and how tightly — let’s say 1 inch high at 100 yards, with three-shot groups at a respectable 1.5 inches. Your goal is to replicate, as best you can, those control groups from various shooting positions and various ranges. Only when you can consistently place your shots within the kill zone from those positions at the range are you ready to attempt them in the field.
While hunting, you should always strive to use a shooting aid — shooting sticks, bi-pod, a backpack, a handy tree or stump — to stabilize your firearm. If I need to take a standing shot, for example, I look for a tree to lean against. If I’m in open country and can shoot prone, I’ll throw my daypack down and use that as a rest. A stump or rock might make a good support for knelling and sitting positions. But there will be times when you have to act quickly and shoot without the aid of a rest, and that’s why it’s important to master shooting from various positions with and without a rest — to know the basics of shooting positions and practice them at the range.
It’s also important to know your limitations, which again should be worked out at the range. If you have a tough time keeping your groups on paper shooting off-hand at 100 yards, then you should never attempt the shot in the field at a live target. If you have to move in to 50 yards to get all of your shots in the kill zone, that should be your maximum range for that position. Same goes for sitting, knelling and prone.
The closer you are to the ground the more stabile your position. If visibility allows, shooting prone is the best option, followed by sitting, knelling and standing. Here’s a brief description of the standard shooting positions for right-handed shooters. Remember, each can be used in conjunction with a shooting aid — shooting sticks, a backpack or a tree stump — for added stability.
Prone … Lie on your stomach with your body slightly to the left of the line of aim and your back straight and legs in a relaxed, spread position. Both elbows should be bent and your shoulders curved slightly forward to form a solid upper body position. The upper body and arms support the rifle.
Sitting … Position your body about 30 degrees to the right of the line of aim and place the left elbow near but not on the bony part of the left knee, tucking the elbow as far under the rifle as possible. Place the right elbow on or near the right knee, forming two triangles to firmly support the rifle.
Knelling … Lineup at a 45-degree angle to the target and lower your body so the right knee touches the ground and place your left foot forward. Sit comfortably on the heel or the side of the right foot and place the left elbow near, but not on, the bony part of the left knee, as far under the rifle as you can.
Standing … Turn your body 90 degrees to the right of the target with your feet shoulder-width apart. Support the rifle with your left arm, holding it against your body for extra support. Hold the rifle firmly against your shoulder with the right hand.
The next time you’re at the range, spend less time at the bench and more time practicing those money shots that will make you a better marksman in the field.


