There are a number of ways to tan a pelt. There are plenty of home recipes online, traditional brain tanning methods and professionally tanned fur. This method follows step-by-step proven methods used by taxidermists around the world. The finished product is a soft, supple pelt that can be hung on the wall or used to make a coat, hat, comforter, etc.
A decade ago, I used home-made recipes that sometimes called for turpentine. I’ve also used other tanning products on the market to tan raccoon hides, too. The end results were always the same: I had to break the tanned fur over a rope or board or chair back to make it soft. This method takes some serious elbow grease to obtain soft fur.
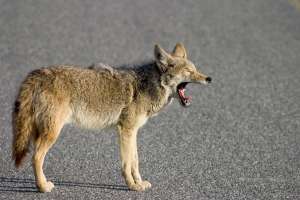
Several years ago I came across a tanning kit made by TruBond Taxidermy. The solutions are safe to use and produce the best tanned fur I’ve ever accomplished. I’ve tanned a dozen different pelts using the methods and products from TruBond — including coyotes, red and gray fox, raccoon and opossum. The finished product is always a soft, supple pelt that is a true trophy.
Below is the step-by-step recipe to produce your own professionally tanned pelts.
Step 1: Skinning
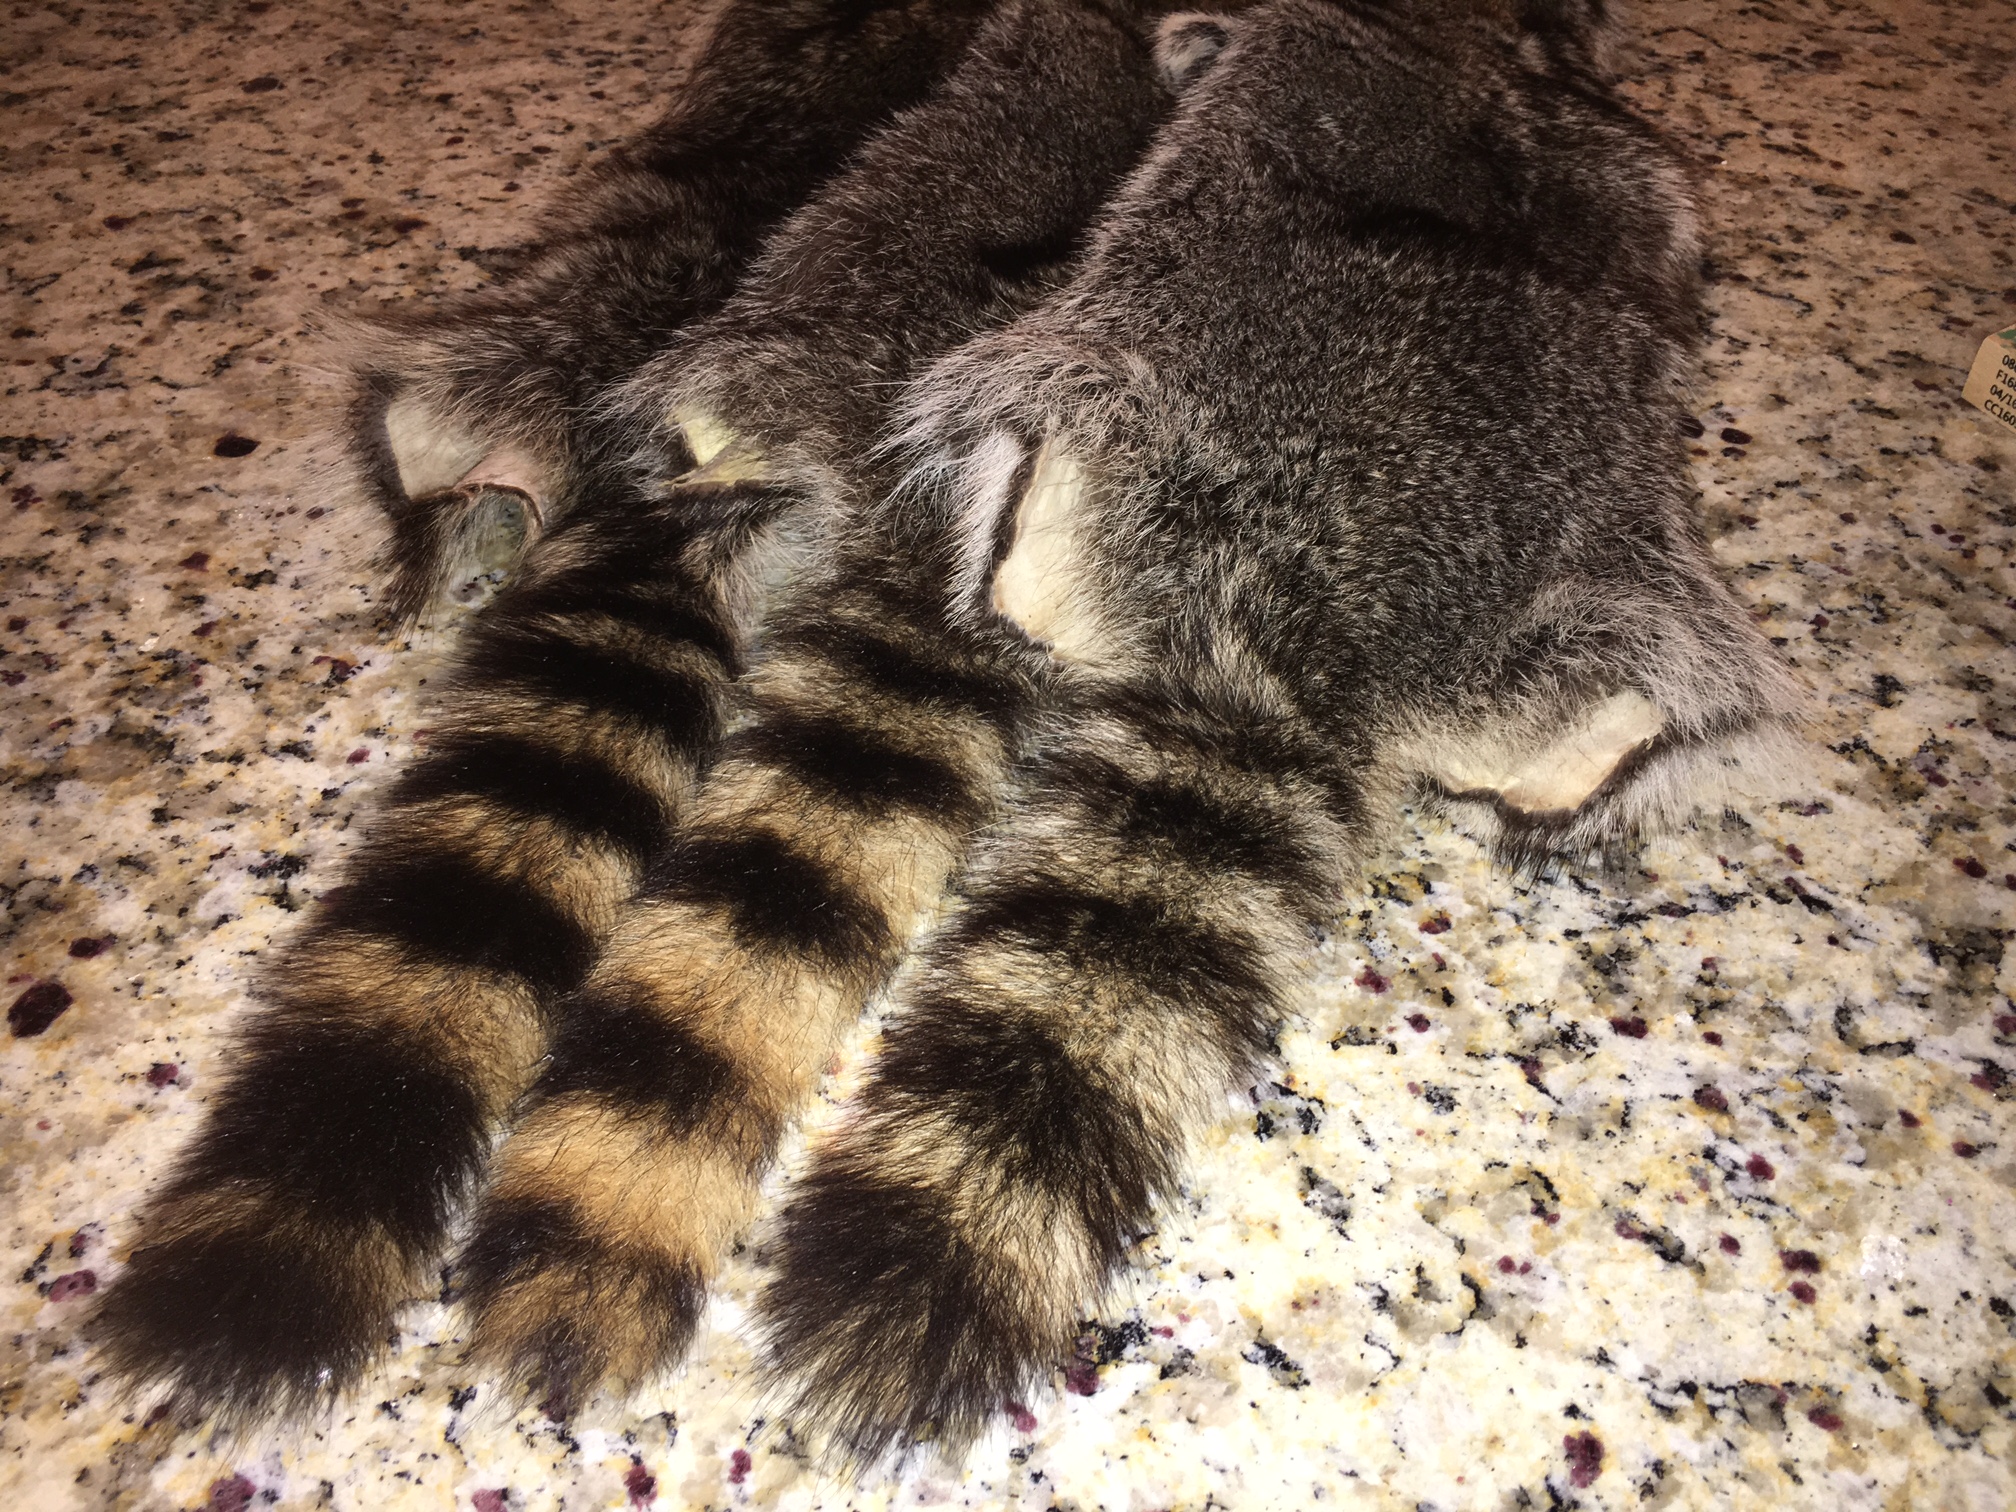
I’m a big fan of cased-skinned pelts. A cased pelt has an enhanced natural look and preserves the entire pelt — with face and nose completely intact. The finished product resembles the living critter. Instead of splitting the fur down the belly section, you start at the two hind feet and cut through the skin all the way around each ankle. Then you run your knife down the inside of the hind leg, where the bottom and side furs converge. You can see the physical differences in the fur at this intersection. Run down to and around the anus and up the other side to the opposite ankle. Then you simply work the pelt off the carcass all the way to the tip of the nose. It’s like turning a sock inside out.
Bonus Tip: take your time working the pelt off. Pull down what you can and use a sharp knife to cut away the carcass from the pelt. Go slow so you don’t knick the skin and cut a hole in it. If large enough, you’ll have to stitch it together before tanning. Take extra time around the head, especially the ear, eyes and nose. If you cut too fast you won’t preserve the thin skin around the eyes and ears.
Step 2: A Race Against Time
Tanning is a method of preserving animal skin. If done properly, the skin is turned into leather with the fur firmly attached to the skin. A professionally tanned pelt will last decades if cared for properly.
As soon as the animal is dispatched, a stopwatch begins. You’re in a race with bacteria. When an animal dies, bacteria in its gut and on its body begin to rapidly multiply and breakdown the tissues. This is the natural decomposition process. Your job is to freeze time shortly after the animal is harvested. One of the first signs of a bacterial explosion, a.k.a., decomposition, is hair slippage. This can happen in an isolated location or across the entire pelt. The hair literally slips out of the skin. If I notice this at any stage prior to tanning, I pitch the pelt in the trash. You can’t reverse the effects of decomposition, so it’s important to skin and process the fur immediately. If it’s hot out, the bacteria multiples exponentially faster than when the temps are cold.
Step 3: Pickle Bath
A pickle bath is no more than a clean, 5-gallon bucket half filled with tap water, citric acid, pickling salt and a fur-safe degreaser. Your pelt will stay submerged in this solution right up until the day of tanning. A pickle is an extremely acidic environment with a pH of 1.5 to 2.0. You’ll want to use litmus paper to test the water to ensure it’s correct. Bacteria can’t grow or live in such an acidic environment, so you essentially freeze the “stopwatch,” and the pelt doesn’t degrade prior to tanning. I use a stick or plastic spoon to stir the pelt around each day. Don’t use metal. It will corrode in the pickle. Also, keep the pickle bath in a warmer environment. It doesn’t smell and, if you can keep it in a climate-controlled area in the 60-degree range or above, it will work better. Some taxidermist place a fish-tank heater in the pickle to keep the temp around 80 degrees. This allows the pickle and degreaser to break down fats and proteins faster.
Step 4: Fleshing
After the pelt soaks for a day or two, pull it out and wring out the pickle water as thoroughly as you can. Then place the pelt skin-side up on a fleshing beam and begin fleshing from the face down to the tail. I highly recommend getting a fleshing knife for this task. After you flesh a few raccoons you’ll be a pro with the specialty knife. A fleshing knife pushes off any connective tissue, meat, fat and grease from the skin-side of the pelt. You’ll do this all the way down and around the entire pelt until you’ve cleaned the skin to a nice white color. Then drop the pelt back in your pickle solution for another couple of days. If your pickle bath is really dirty because of blood or dirt on the pelt, simple dump it out and mix a new one up.
After a couple-day soak in the pickle, pull the pelt out and wring it out again. Place it back on your fleshing beam and give it a final scrape. At this point you’re using your fleshing knife like a squeegee to push all the grease and fat out of the pelt. Once completed, place the pelt back in pickle bath for another day or two.
Fleshing takes practice and time, so be sure to do a quality job over a fast job. You want to remove all meat and connective tissue from the skin. The tanning solution won’t penetrate the skin as well in this area and it could “tan out” stiff instead of soft.
Step 5: Neutralize Pelt
The night before or the morning that you plan to tan your pelt you’ll need to pull it from the pickle bath and neutralize the pelt. You simply mix a couple gallons of water with baking soda and pickling salt. After pulling your pelt from the pickle, you wash it off in fresh water and then submerge it in the neutralizing bucket. The pelt will sit in here for an hour. You’ll want to stir the pelt around every 10 minutes or so to ensure the neutralizing water penetrates all of the skin. Once the pelt sits for an hour, wring it out good and hang it to dry. You can run a fan on it at this point, too. Once the skin is tacky to the touch (not dripping wet) then it’s time to apply the tanning agent.
Step 6: Tanning
With all the “hard” work behind you, it’s time to tan the skin. Once the pelt is no longer dripping wet, but tacky and pliable, you can apply the tanning product. If the pelt has dried stiff in places, be sure to wipe the areas with water to moisten it back up. The tanning solution won’t soak into a dry skin. For furbearers I use TruBond’s 1000B tanning agent. I simply shake the bottle well before opening, pour some in a plastic Solo cup and liberally rub the oil over the entire skin-side of the pelt. Be sure to get it on the skin-side of the ears, face, entire length of tail and all areas with skin. Try to avoid getting it on the hair side. Once you’ve covered the pelt, hang it up to dry. I hang mine in the basement or garage, just avoid placing it in an area where freezing could occur. Let the pelt hang overnight or for 24 hours depending how fast it begins to dry.
Step 7: Breaking The Skin
I said earlier that you don’t have to kill yourself breaking the skin of these pelts, and you don’t. Still, there’s a little work left before the project is complete. Over the next couple of days, you’ll want to pull and stretch the skin in different directions. This helps break up the leather fibers and will result in a softer skin. The next day you’ll notice the pelt’s skin has turned a light brown/beige color, replacing the bright white skin you tanned the day prior. At this point start pulling sections of the pelt to the sides, up and down and every which a way. As you do you’ll notice the skin instantly turns back to a white/off white color when stretched. This means the tanning agent penetrated into the skin and you’ve successfully tanned your pelt. The more you stretch the skin over the next couple of days, the softer it will become.
Bonus Tip: Raccoons and coyotes are notorious for having thick neck skins. Once the pelt is tanned, you’ll notice how much thicker the neck area of the skin is and, ultimately, it’s the stiffest section of the pelt. If your pelt is going directly on the wall as is, then you’re done. Once the pelt is completely dry, find a great spot on the wall to showcase it. However, if you’d like a softer pelt or perhaps you want to have your pelt turned into a hat or other garment, then it’s best to shave the neck area down to soften it up. To accomplish this, I use a wire-wheel attachment on my cordless drill and run it up-and-down and side-to-side over the leather area of the neck. This can take several minutes to get the skin down to the desired thickness. Just don’t stay in one place too long. This can cause heat to build in the pelt, possibly causing damage. Also, don’t go too thin by cutting into the hair roots.
Novice To Pro
That’s the entire step-by-step directions to create your own professionally tanned fur pelts. The method described above is specific to the TruBond tanning products and procedures. If you want to try the above process for yourself, I recommend the “starter” kit, which contains everything you need to tan two coyotes or three or four fox and raccoons.
Video: Watch as Mark Olis professionally tans a raccoon pelt.