I remember my first fur selling experience well — a humongous buck mink I caught at age 10 that had been skinned and stretched by a local professional trapper. He strongly advised me not to take a dime less than $30 for the pelt. The fur buyer finally met my price, and about that time a couple trappers brought in more than 100 mink that had been stretched on two plaster lattes nailed in a V with the gorgeous pelts pulled down and each leg secured with a single nail — the ultimate in how NOT to handle quality fur. That and the fact they averaged only $15 per mink because of their crappy fur handling left a lasting impression.
Cleanliness is next to godliness when it comes to proper fur handling and begins with the shot that puts a critter down for the count. In trapping this is easily controlled. Animals such as coon that are stretched fur side in should be shot “head on” through the forehead, leaving a small entrance hole with the bullet expanding in the carcass. Trapped fur side out critters such as canines and felines, need a single bullet through the chest that will be invisible in a combed and brushed out finished pelt.
Pelt damage obviously can’t be so closely controlled under field shooting conditions where bullet damage might range from minimal to massive depending on a combination of factors such as caliber, bullet velocity and construction and shot placement. When fur buyers see blood on a carcass or pelt, they automatically think damage, which means instant price adjustment. Slight damage generally means 25 percent less money, medium damage 50 percent off and heavy damage 75 percent or more off the purchase price. No visible blood, no damage alert.
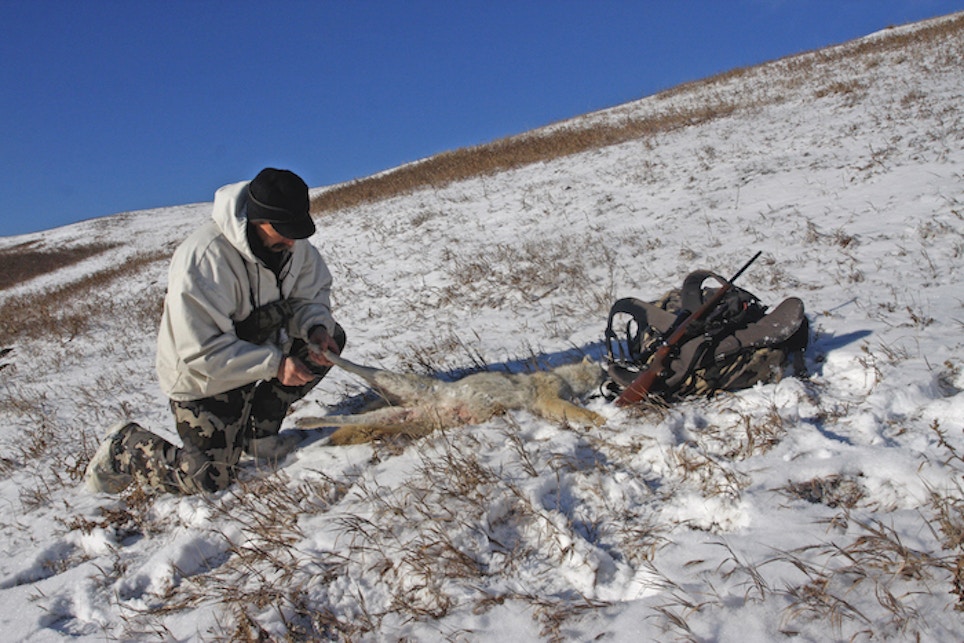
If there is snow where you’re hunting, use it to carefully scrub off the blood. Letting the blood freeze will expedite easy removal in the field. Often a canine will have cockleburs or burdock tangled in the fur. Do not simply jerk them loose because you run the risk of pulling off guard hairs and leaving thin spots in the fur. It’s better to remove these stickers by manually crushing them and then carefully combing or brushing them out later. Treat your predator kills with care in the field from the get-go, because it will pay dividends later.
Case skin predators with legs and feet fully skinned out if there is any chance you might want to open the pelt up to make a rug or flat fur presentation later. Use a pliers vice grip or channel lock to aid in slipping the tail bone out of the tail. Split the tail full length on the underside. Specific tools for these chores are available from trapper supply houses and belong in every fur shed.
Once skinned, finish cleaning the pelt by brushing and/or washing it if needed to further remove dirt and blood. Never use warm or hot water for this because it will set the blood and permanently stain the fur. Dry the pelt with a towel to remove most of the moisture.
You can freeze pelts until needed by tightly rolling the raw sides together fur side out and placing them in Ziploc bags. Squeeze air from bags to help prevent freezer burn. Canines and cats should end up stretched fur side out and I prefer wooden stretchers made from clear 1x4-inch boards with a sliding-wedge base for adjusting tension. These are much better than metal stretchers for these critters, which work fine for coons. All your stretchers should be the same design for consistent looking finished furs.
All holes should be carefully sewn shut while the fur is loosely stretched using nylon thread and Trocar-Point needles that cut cleanly through tough hide. They are available from veterinarians and at drug stores and trapper supply houses. The damaged areas should be trimmed and cleaned before sewing because this will give the hide maximum elasticity for seamless stitches. On a large tear or hole, expand the damaged area to a long elliptical opening to add stretch and facilitate a seamless unnoticeable repair. With all damage repaired, stretch the skin firmly on a stretcher and double check stitches to make sure they are tight and holding.
Next, remove excess fat with a scraper, dull knife or fleshing tool. Leave the pelt stretched until it is damp but not sticky to the touch. Time will vary, depending on heat and humidity but do not use heat to speed up the process. The hide should not crinkle when removed and turned fur side out. If the skin is too dry to turn easily, simply wrap it in a hot damp towel for a short time. Then stretch it fur side out and tack or staple it solidly to the board, making sure you open the tail incision to expose it to drying as well. Once the hide is thoroughly dry, remove it, brush it lightly, “pop” the fur several times to make the hair stand up and admire your work!
With everything in chaos today and fur prices in a constant state of flux, you might look at creating your own fur market by selling tanned furs through local gift shops, boutiques, gun shops, flea markets, etc. Nothing ventured, nothing gained.


