Most gun owners can get the job done, but a few tips and helpful visuals can help guide the way.
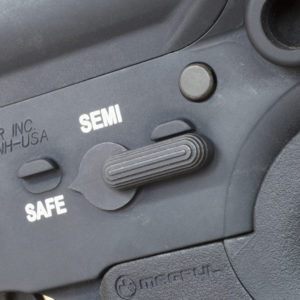
1. Put the AR on "safe," drop the magazine to ensure the chamber is empty. Part of the fire controls are housed in the pistol grip, which makes adding emphasis to this safety step even more important.
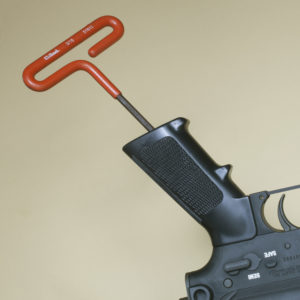
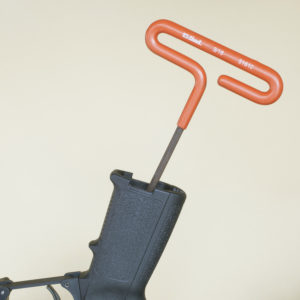
2. Use a flashlight to inspect the interior of the old pistol grip. The odds are good a 3/16-inch Allen wrench with a long stem will work, but lower receiver manufacturers have been known to stray from that practice.
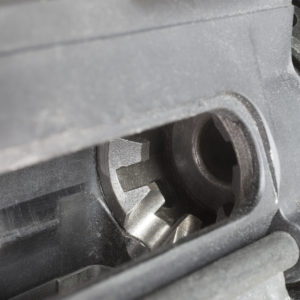
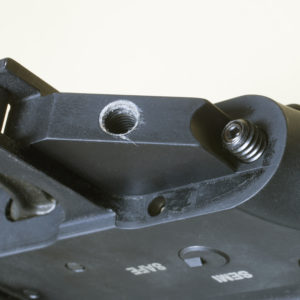
3. Insert the Allen wrench and begin loosening, but be aware the safety spring can come loose during the process. Use your off hand to maintain control of it as the grip is removed, and watch that the detent underneath doesn't come out of the lower receiver.
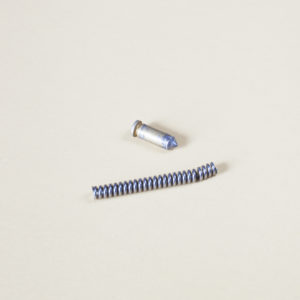
4. The detent in the receiver and spring are critical parts of the fire controls and are small enough to get lost during this procedure. The slight bend in the spring indicates the last grip mounted on this AR was torqued without ensuring it drove properly into the receiver.
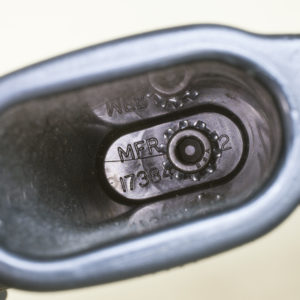
5. Clean the mounting surface if necessary before installing the new grip. The person who installed the last one on this AR obviously had some trouble, which shows by the finish. Go slow and use the right tools.
6. Once the grip is off, you can remove the spring. Determine which side it's on before turning a tool to minimize chances of its loss during the swap.

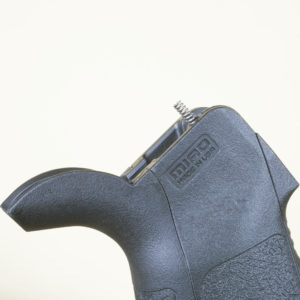
7. Insert the spring in the new grip. There should only be one properly sized hole in the molded body. If it keeps coming out during mounting, a dab of grease on the pistol grip end of the spring can help maintain its position.
8. Using hand pressure, mount the new grip. Watch the spring, and make sure it's compressing properly during the process.
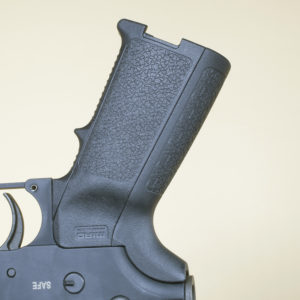
9. Hand tighten the new bolt and lock washer until the pistol grip is firmly mounted. Do not apply too much pressure because that bolt is being driven into aluminum and it strips a lot easier than steel.
10. Work the safety selector several times to ensure feedback is positive and that the hammer doesn't drop when on "safe." Now you're done and ready for the range.