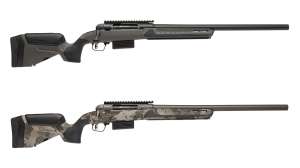
There are many people whose beloved old shotgun has been semi-retired to home-defense duty. Ease of operation, system familiarity and fight-stopping power all make it a formidable combination, but older versions have a serious drawback — no reliable mounting surface for a weapon light.
Identifying the target is key, but even an accomplished contortionists would balk at holding a heavy shotgun, flashlight and cellphone steady for as long as it takes for law enforcement to arrive. Add the stress of a criminal prowling the house, loved ones who need to be quietly calmed and whispering the safe room location to 911, and the term “multi-tasking” takes on a dire new meaning.
Get your light on
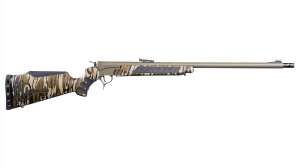
What you need is a tactical flashlight on that firearm. A new shotgun or higher-end purchase are the most reliable approaches, but if they’re not an option, aftermarket products are available for the task. Extended magazine tubes aren’t always required, and the installation is relatively generic. Here’s a quick look at the steps.
- Determine the shotgun model and configuration. Solutions aren’t available for every version produced, but the number of options available today is surprising. Extended magazine tubes provide a rock-solid foundation, but even aftermarket products anchored only on the barrel perform well.
- Find the product and check to ensure the manufacturer recommends its use on your shotgun model. A tight fit is required to survive the recoil and typical home-defense bumps and bangs, and trying to mix and match only increases the chances you’ll scar your firearm.
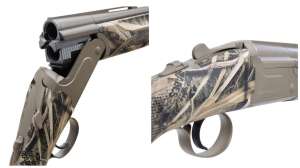
- Inspect and inventory the package’s contents, paying particular attention to the assembled body’s shape. Most systems rely on the viselike grip delivered by two plates affixed by bolts. Magazines and barrels don’t always have the same diameter, though, so the sizes can vary and some companies have a bias in their clamp profiles. The instructions should provide full details.
- Determine a good location that doesn’t encumber the pump-action’s slide, then clean the gun’s barrel and tubular magazine there before starting. Brush off the device being attached. Seemingly invisible dirt can scratch bluing with relatively little effort.
- Thread in the bolts that affix the rail or adapter onto the main unit, leaving them loose. Place the main plates at the favored barrel location, install its bolts and hand tighten until there’s no forward or aft movement.
- Now, remove those loose rail/device bolts — which are only left there to improve your grip during the unit’s initial placement — clean contact surfaces and affix as per the instructions with slight tightening. Now you’re ready to affix the light. At this point, you should shoulder the gun and determine how comfortable you are when accessing the weapon light’s controls. Things aren’t tight yet, so remember to minimize undue pressure when you’re working the switches. This is also a good time to think about adding a pressure pad.
- Identify the location you like, or if necessary, carefully adjust until things are just right. Mark that sweet spot, break down the rig and reassemble just as you did before, but clean every step of the way again and tighten snugly according to manufacturer instructions. A non-permanent locking compound should probably be part of the process.
Note that some versions of these systems can also lock onto the barrel of a sporting semi-auto shotgun. Most systems also rely on the viselike grip of a pair of plates/clamps so installation is nearly identical, except you substitute a flashlight of proper diameter for the tubular magazine. The rail/adapter can still be installed, if wanted, for QD magazine slots, etc.
"7 tips for lighting a shotgun" originally ran in Tactical Retailer.