Tube skinning, simply described, is a skinning process in which the pelt is removed from the carcass, starting at the rear legs, and then pulling and cutting the fur away from the carcass, all the way to the tip of the nose — kind of like removing a tube sock.
Before you get started, there are a few tools you will need: skinning gambrel or length of rope, sharp skinning knife, tail puller and slitter (optional) and a fur brush. And it’s always a good practice to wear latex gloves.
OK, let’s roll up our sleeves and get to work.
To begin, hang the animal by its back legs using a gambrel or length of rope. Use a fur brush, the kind you would use on your dog, to clean dirt and burrs from the fur. With a sharp knife, cut around the ankles on the hind legs as shown, as well as around the elbows of the front legs.
From the ankle, cut down one back leg slightly on the inside all the way down to the anus. Cut around the anus and back up the other side. Pull the skin away from the hind legs until you get to the tail.
Work the skin away from the base of the tail; using your knife, if necessary. Place the tail bone between two fingers and pull the entire bone out of the tail skin. Commercial tail strippers or wooden clothespins make the task easier. Split the tail down to the tip of the middle of the pelt’s underside so it can be held open to prevent spoiling.
Once the pelt is free of the hind legs, pull the skin down away from the carcass using steady pressure until you get to the shoulders. Push your fingers between the front of the shoulder and the pelt. Grab the leg with one hand and the pelt with the other. Pull the leg up while you pull the pelt down at the same time. The leg should easily pull through. Repeat on the other side.
Now you’re getting to the tricky part — the head. Use your knife to skin around the neck down to the ears. The ears are not always easily visible and you might have to feel around to find them. Cut the ear cartilage close to the skull so the ears come off with the pelt.
Continue skinning down until you come to the eyes. Skin the eyes out using the tip of your knife. Take your time here; be careful not to cut the eye openings any larger than their natural size.
Using your knife, skin down to the mouth and separate the lips and nose from the carcass. The nose cartilage should remain attached to the pelt. The lower jaw skin can be removed from the pelt. The pelt is now free from the carcass.
This is a good time to wash any blood and dirt from the pelt using cold water. Comb out any remaining burrs and other foreign objects.

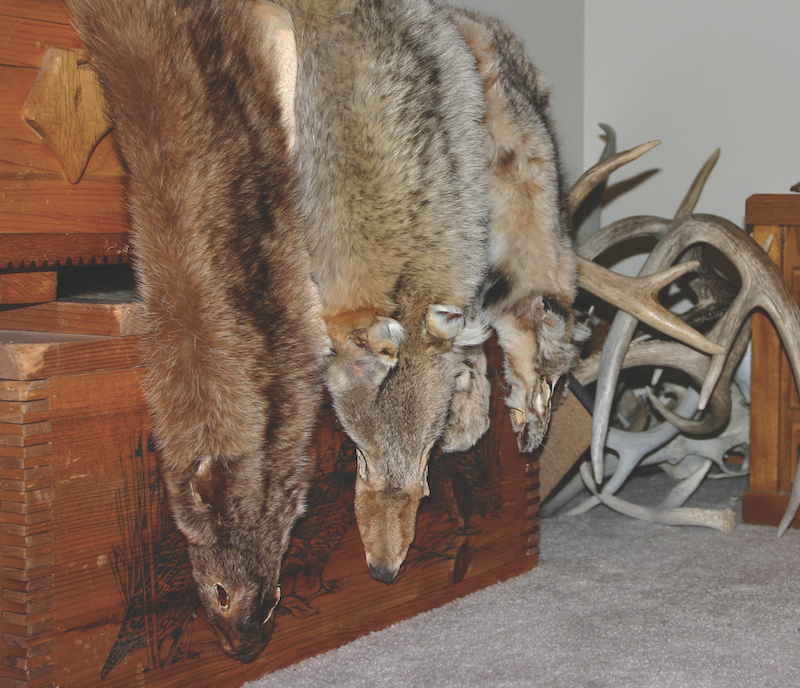
At this point you have a couple of options: You can finish the job by fleshing, stretching and drying your fur, or you can store your pelts by freezing them and putting them up later or selling them to a local fur buyer “green” at the end of the season. Or, if you want to have them tanned, you can ship them frozen to a tannery to have them processed. I’ve done this with several furs, and they make nice office décor or gifts.
Green fur should be frozen flat and not rolled into a ball, which can cause the inner part to freeze much slower. I don’t recommend putting fur in plastic bags, because the plastic will cause condensation, and moisture can penetrate the leather causing fur slippage. As long as the fur is dry, there’s no need to place anything between them, but don’t put too much fresh fur in the freezer at a time, because the pelts in the middle of the stack will be insulated from the cold and won’t freeze as quickly. You might want to fold the tail and head under to prevent any exposed flesh from freezer burning and to conserve space.
Putting up fur is not that difficult, and while the money you make from selling your pelts won’t pay for a new truck, it will put a little gas in the tank for those future predator hunts.