 When and where to shoot an animal is a tricky thing to understand. How do we know when the ideal moment is to take a shot? What about shooting distances and angles, and where exactly on that animal to slip in the arrow? Some of the most seemingly easy shots too often go wrong. Then there are the truly challenging shooting situations. It’s an intriguing subject, shots on game.
It is also one of the most controversial. There are many “experts” who take an ivory-tower stance, presumptuous that bowhunters will heed their advice to take nothing other than a 20-yard, unimpeded, broadside shot with the animal standing still. There are a few who advocate some practices that are dubious at best. My attitude is that real-world bowhunting sometimes calls for the bowhunter to try to make a shot in a difficult situation. It’s plain and simple human nature to go for it, and it’s the essence of a robust approach to bowhunting, the way bowhunting should be. My philosophy is to pass up the low-odds shot and always try for the ideal, perfect shot; but when presented with something less than the ideal, use your best judgment in whether to and how to take the shot, with responsible shooting and reverence for the game as your guide.
Shot Placement And Angles
Always strive for a heart/double-lung shot, best achieved with a deer standing broadside at the same level or from a reasonable elevation or tree stand height. The next best shooting position is with the target animal angled away at up to 45 degrees or so. This presents a smaller double-lung target but easy access to all of the heart and lung vital area. Some bowhunters believe that angling away is better than the broadside shot, but the heart and lung area is smaller from that angle. Such an angle also increases the chance of encountering a leg bone on the opposite side of the animal and thus denying an exit wound and good blood trail.
Another pitfall of the angling-away shot is that it is easy to forget that your aiming spot needs to change as the angle changes. If you aim for the backside of the shoulder muscle as you would on a broadside shot, you are likely to touch only part of one lung or miss the chest cavity entirely. The rule of thumb on angling-away shots is to always imagine a line going to the opposite shoulder muscle and aim for that point.
Steep Angled Shots
As the angle of the animal varies from purely perpendicular to the arrow, the size of the heart/double-lung target area shrinks. The higher you go, the less the lungs overlap. You do not want to take a one-lung shot on a strong, mature buck because the chances of losing him are too high.
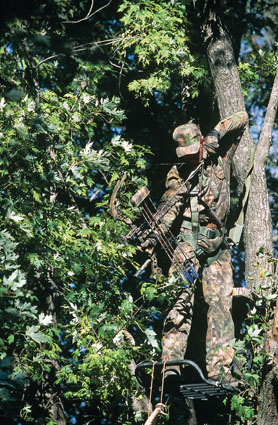
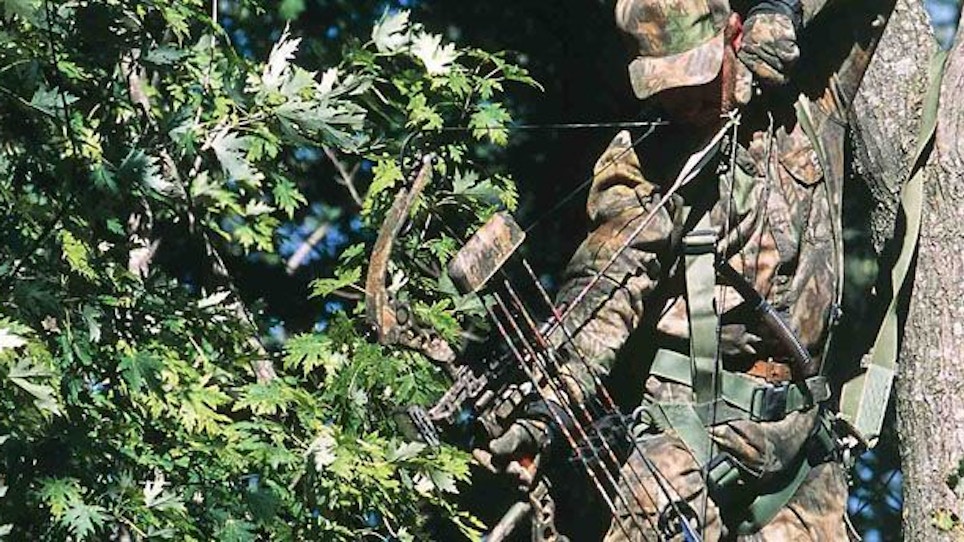
Most bowhunters know that shooting at steep angles will make their arrows impact slightly higher than their sight pins indicate. I once made a very steep shot on a buck that my rangefinder told me was 52 ½ yards away — using my 30-yard pin. Further, when you are high up and shooting almost straight down, some very unusual things can happen — depending on your shooting style, you might have to use a lower pin. Even with the new angle-compensating rangefinders, this is tricky business and can only be learned through practice and experience.
Front And Rear Angles
I have been told many times by knowledgeable bowhunters never to take a frontal shot on an animal. After butchering many animals and examining anatomies, I began to have more and more doubt about it, and finally had the opportunity to test it on an Idaho elk hunt. I took a frontal shot at a bull elk, and the arrow penetrated completely into his body — a devastating 40 inches of penetration that piled him up in seconds. Considering he had three times the mass of a good whitetail buck, I will no longer hesitate to take such frontal shots on deer.
Rear shots are another matter. They can be very lethal to be sure, presenting a lot of arteries, and again, that angle will allow a devastating, full-body-length penetration. Even so, I have never tried to harvest an animal with a shot at this angle, simply because it does not sit well with me. I have, however, finished off a couple of wounded animals from this angle, and the results were quite satisfactory.
Moving Targets
Shooting at a moving target is questionable at best. Making an accurate shot is difficult enough on an animal that’s standing still, much less when it’s moving. It might hesitate as you shoot, or walk behind a bush, causing a deflection. Most bowhunters do not realize how much penetration is affected as well as accuracy. Many years ago I did a lot of recurve shooting and became proficient at shooting moving targets. Once I made a shot on a buck as he hurried across a meadow toward a group of does. The shot was almost perfect, but to my horror, I saw the arrow strike him and then flop back along his flank because the animal’s motion had taken away considerable penetration ability of the relatively slow-moving arrow.
If an animal is walking fairly slowly and presenting you a good shooting angle, you have the option of either taking the shot or trying to stop the animal. On slow, close, broadside shots, I usually take the shot while the animal is moving. If it’s a little too far, there’s brush in the way, or the animal is running a little too fast, I will stop the animal before shooting.
Shooting Obstructions And Arrow Trajectory
Getting arrows around brushy or rocky obstructions is one of the biggest problems bowhunters face. A mistake many bowhunters make is spotting a branch in line with an animal’s vital zone and automatically assuming it is in the way of the arrow. Usually, it isn’t. On the other hand, they might ignore branches above the line of sight to an animal that might be exactly in the arrow’s path. The principle at play is arrow trajectory. An arrow covering 30 yards horizontally will have a significant amount of vertical drop. This trajectory will be somewhere between 1 and 3 feet, depending on several factors — primarily the arrow’s initial velocity. An arrow travels upward for the first part of its journey to the target. For a typical setup — let’s say a 60-pound compound shooting a standard hunting arrow at 30 inches draw — the arrow would fly about 4 ½ inches high at 10 yards. It would sail over a branch at that distance that appeared to be covering the 30-yard target. And it could very likely strike a branch that appeared to be well out of the way, above the target. Here’s a good way to determine precisely if a possible obstruction is truly in the way of your arrow: Estimate the yardage and place the correct sight pin on the target. Then estimate the yardage to any obstructions you think might be in the way, and check to see if your corresponding sight pins cover those obstructions. If they do, either don’t shoot or move to another position. If they’re clear (and the animal hasn’t high-tailed it while you’ve gone through the steps), you’ve got the green light.


