Related articles: Deer processing—a rural art form, Preparation is everything when processing deer, DIY deer processing: shoulders, DIY deer processing: backstraps, DIY deer processing: hams
Here is a simple step-by-step method of boning a deer.
Tenderloins

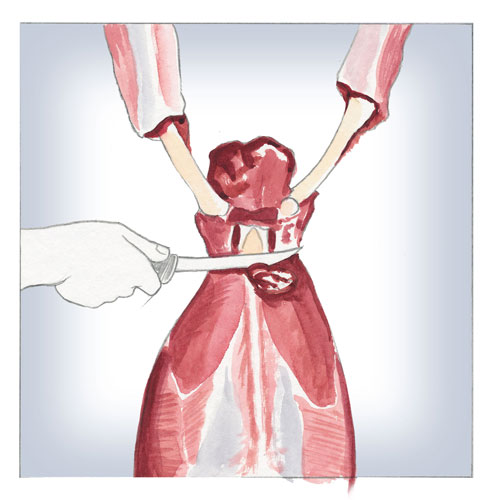
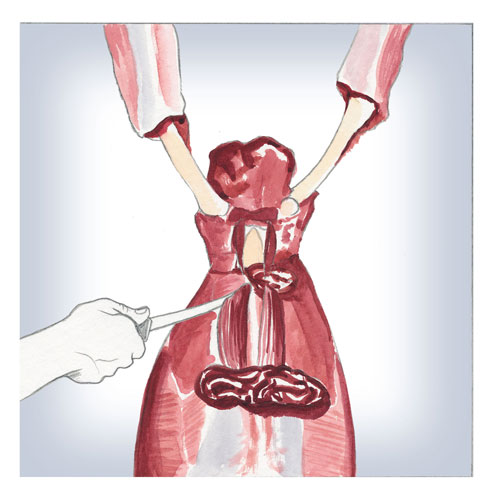
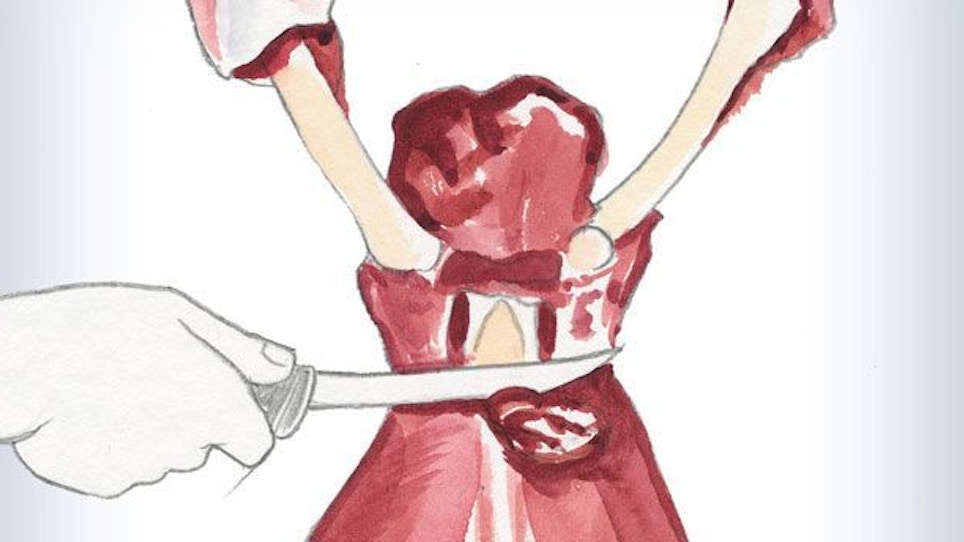
 The tenderloins — or secondary or “inside” backstraps — can be removed easily, without much mess. Turn the carcass so you’re facing the belly side, and while using just the very tip of a fillet knife, pierce the belly skin below the pelvis. Be careful not to pierce the stomach or bladder. Simply cut the thin belly meat downward, so that the stomach “rolls” out slightly, away from the carcass.
The belly skin only needs to be sliced about a foot or so, just enough that the stomach pulls away from the carcass and backbone, so you can then remove the inside tenderloins.
These meat pieces are about 10 to 12 inches in length, and only a couple inches in diameter, but are very tender and succulent. Feel for them first, as they are on either side of the backbone, and then delicately remove them with a fillet knife. Done correctly, it’s a clean, fast operation, without stomach contents or bladder pierced, and no blood from inside the carcass cavity is disturbed.
Allowing meat to “age” in a cooler with plenty of ice for several days is great and makes venison tender. Storing meat in a refrigerator or food locker for several days is also excellent.
A few helpful tips
Some people believe venison should not be allowed to soak in ice water. But this helps remove blood when the cooler is drained periodically, and I’ve never had a problem with meat on ice being tough or distasteful — in fact I find it perfectly great to eat when handled this way.
Trimming venison — removing all fat and sinew — for freezing or cooking is important. For freezing, cut portions into sizes needed for family meals, and mark packaging with a felt pen as to type of cut, how many people it will feed, and the date.
A vacuum sealer with quality heavy-duty bags does an outstanding job for freezing venison for up to two years. Wrapping venison in heavy freezer paper works, too, but be careful not to skimp on paper or tape.


