Sponsored Content
A Midwestern boy married a girl from down South, and one year later his 96-year-old grandma came to visit and couldn’t find a sharp knife. This was a colossal problem. Later in the visit, she sent his wife to the grocery store to buy a whole chicken, a fryer. It had to be less than 4lbs. Anything more would be tough and unsuitable.
The wife returned with the whole chicken and handed it over to her husband’s grandma, and the issue of the dull knives reached a heightened level of concern. The grandma took a handful of kitchen knives and tried to sharpen them on the mortar between the bricks of the couple’s patio. Finally, frustrated, she made do with what she had. The job was a hassle and the chicken wasn’t cut clean. Worse, there was waste: tiny, microscopic bits of chicken still clinging to the bone that only the boy’s grandma noticed.
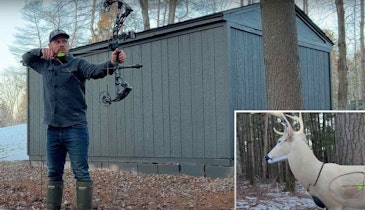
But never dismiss the wisdom of a grandma. Because — while attempting to sharpen kitchen knives on brick mortar is bad enough — even worse is a dull hunting knife, no sharpening tool and a grounded, glorious whitetail buck at dusk with the total darkness of night coming on fast. That’s the scene the Midwestern boy found himself cast in. He wanted to move quickly, but instead the knife moved slowly, muddling through, snagging and stopping and getting hung up every inch or so, while his hands — moist with blood — grew colder by the minute.
All because he didn’t have enough good sense to learn from his grandma and that little fryer with its tiny, microscopic bits of wasted chicken still clinging to the bone.
4-Step Sharpening Process:
Shape, Sharpen, Hone, Strop
Beyond waste, there’s another pitfall caused by dulled hunting knives: accidents, cuts, unplanned bleeding caused by unintended slices to the hunter’s hands in addition to the intended cuts made while skinning and field dressing.
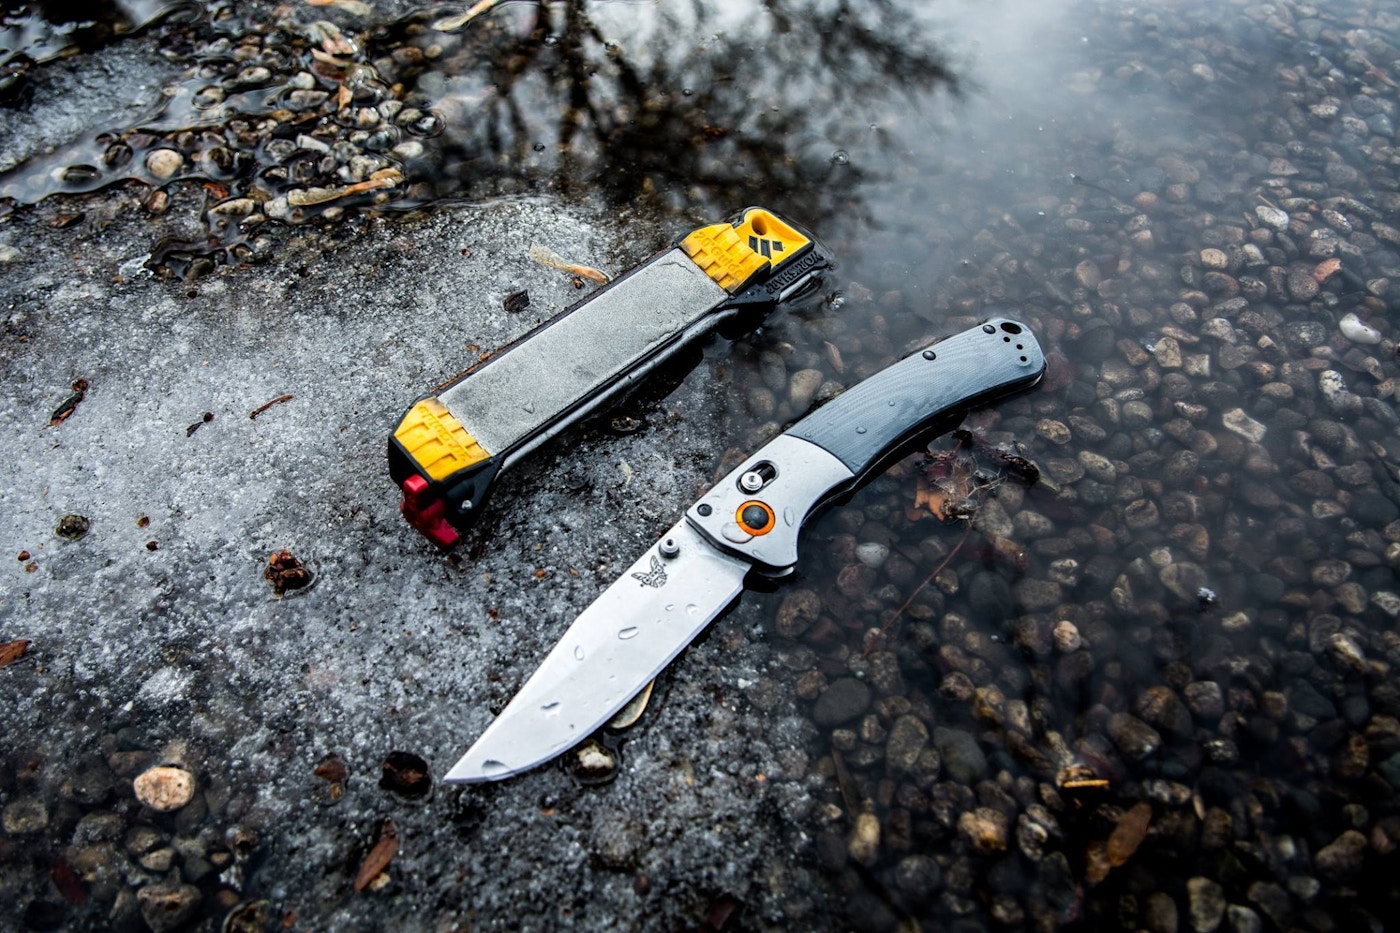
“When your knife is dull, you’re using a lot more pressure, and more pressure is often what leads to knife slippage and accidents,” said Megan Dunn of Work Sharp Tools. The Oregon-based company manufactures a full line of knife and tool sharpeners, including the compact Guided Field Sharpener designed for hunters.
But a knife that’s dull isn’t only less safe. As the World-War-II era grandma taught us in this article’s opening lines, a dull knife leads to waste too.
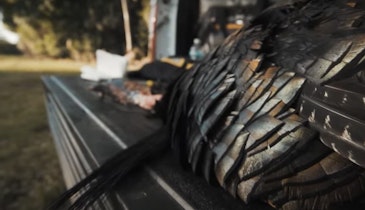
“A knife that’s sharpened properly gives a hunter more precise cuts, which goes a long way in not wasting any meat by leaving it behind on the bone,” said Dunn. “This is especially true for wild turkeys and waterfowl, where you’re working with far less meat to begin with.”
There are four basic steps to sharpening knives and Work Sharp Tools offers the intended outcome of each step.
Shaping
This is Step 1 and it’s used to repair a damaged or severely dull edge using a coarse grit abrasive (or increased strokes on a medium grit abrasive). When complete, the blade will have a large burr and the edge won't be refined.
Tip: Select a blade angle that can stand up to abuse
When choosing an angle, you’re essentially finding a compromise between sharpness and durability of an edge based on how the knife will be used. For hunting knives, the blade angle is typically selected for durability first, sharpness second. And that’s just due to the amount of abuse a hunting knife is subjected to.
Work Sharp recommends a 20-degree angle for hunting knives and the brand’s Guided Field Sharpener (GFS) comes with guides fixed at 20-degree when using the sharpening tool’s diamond plates, but it also offers 25-degree guides on the ceramic honing rod. This creates a micro-bevel that gives the blade a longer-lasting, cutting edge so it won't dull as quickly.
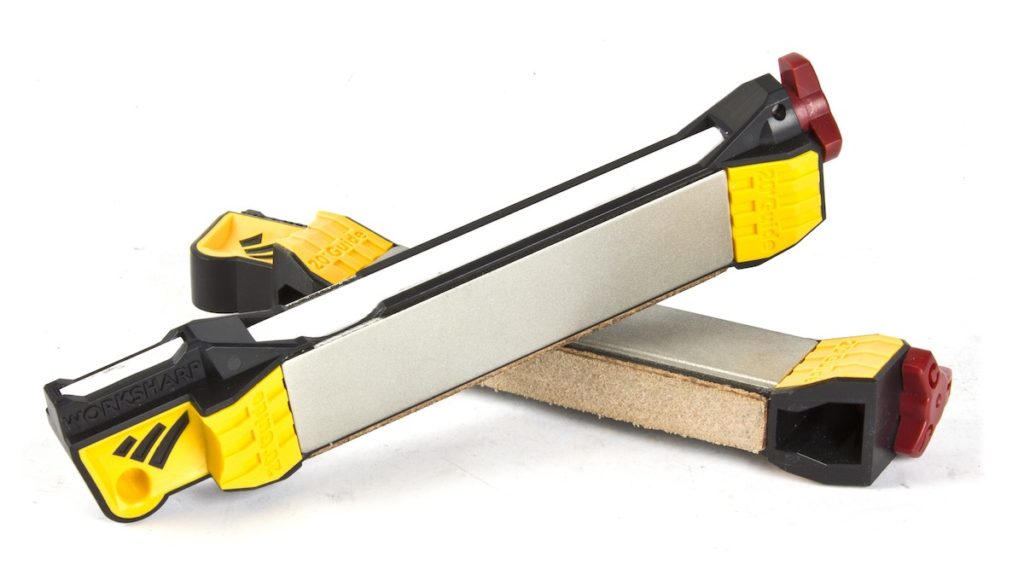
Click the image to buy now.
Sharpening
The next step is used to establish a symmetrical edge on a medium grit abrasive. At this stage, your knife blade will be entry-level sharp with a toothy edge and slight burr.
Tip: Avoid softer blades
When selecting a good hunting knife, be sure to get one that’s made of quality steel so it’s easier to attain a blade edge.
“While softer blades may dull more easily than hard steel, they are easier to regain an edge on when in the field,” said Scott Haugen, a hunter and contributor to American Shooting Journal. “Knowing the anatomy of the animal you’re breaking down, and using the knife to cut, not saw or force through bones, will help in maintaining an edge on your knife. All cuts are easy to make and should not be forced, especially through joints and cartilage.”
Honing
Honing involves a high level of edge refinement on a fine grit abrasive. This gives your blade a very sharp, smooth edge with no burr. This step is done with a ceramic rod.
Tip: Hone out the burrs to avoid tearing meat
Burrs are problematic for hunters because an unrefined edge can cause game meat to tear while cutting. As Haugen noted, it’s not uncommon for a hunting knife to lose its edge and require sharpening before an animal has been gutted, skinned and dressed.
“Animal fat can quickly dull a knife,” he said. “At the same time, cutting through cartilage, tendons and ligaments can be tough on knives, making quality steel even more important. Having a blade you can hone in the field — one that reacts to a good steel — is important in regaining that edge in order to continue safely and efficiently breaking down an animal.”
Stropping
This final step involves the highest level of edge refinement. It’s done using a leather strop that’s charged with a micro-abrasive honing compound. The end result is a high-polished cutting edge with no burr.
Tip: Avoid animal hair and dirt
Once your blade is sharp and you’re in the field ready to do work, Haugen offers a final tip. “Sometimes big animals like elk, moose and bear are impossible to move around by yourself, meaning a cut may slice through skin and hit dirt, which dulls a knife. When cutting the hide, do so from the skin side, not down through the hair. To do this, make a small hole where the cut will begin, then get the blade inside the skin, cutting upwards through the hide.”
To check out features of Guided Field Sharpener or to see it in use, watch:
Featured Photo: Forrest Tindall Photography
This content is sponsored by Darex. Sponsored content is authorized by the client and does not necessarily reflect the views of the Grand View Outdoors editorial team. View our privacy policy.