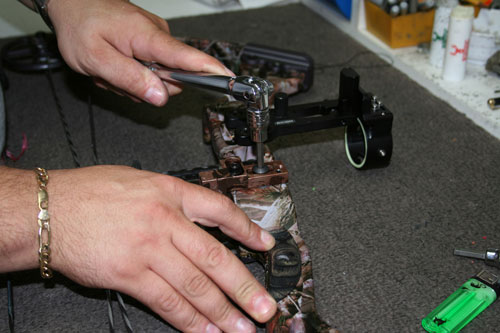
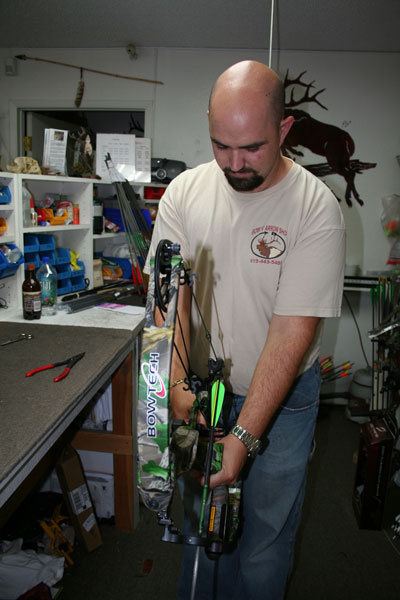
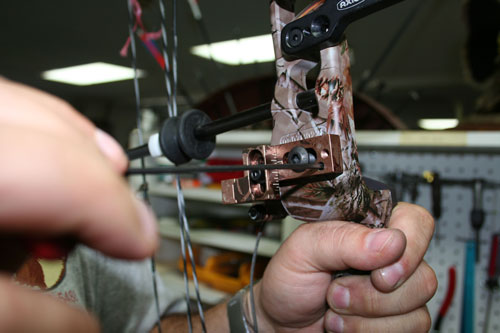
Step One: Tighten rest: Step one is to tighten the rest to the bow’s riser. Using a level to make
sure the rest is level before tightening is a good idea.
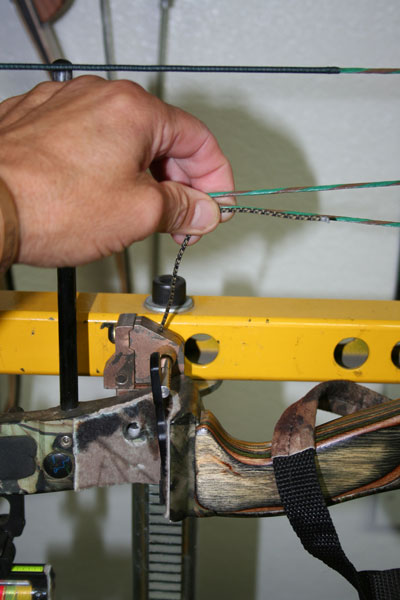
Step Two: Measure draw cord: Next, measure the draw cord before attaching
to the bow’s down cable. The cord cannot be too short or too long.
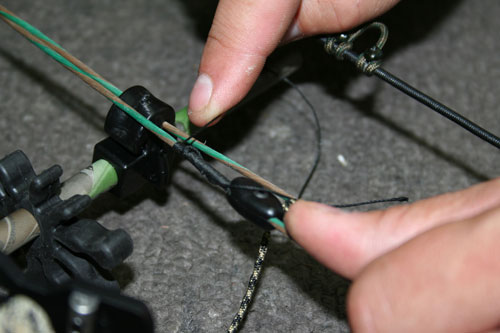
Step Three: Short serving: Once the draw cord has been installed on the down cable with
either a removable “football” or served into the cable itself, a short serving tied above the cord will
prevent it from sliding up the cable.

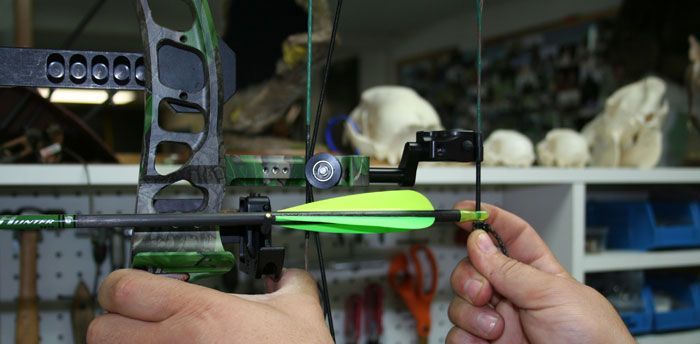
Step Four: Set the nock or string loop height to the desired position to the arrow rest by raising
the rest arm, then cradling an arrow in the arm. The best starting position is dead level, and
minor adjustments can be made later during the tuning process.
Step Five: Center Shot Adjustment: Center shot adjustment should be
made before shooting the bow. Again, minor adjustments can be made during
the tuning process.
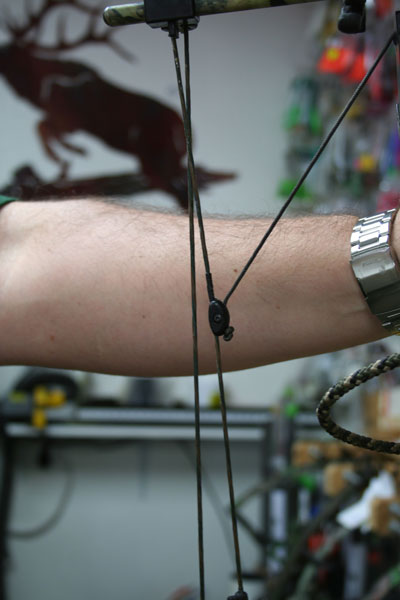
Step Six: Bulge in down cable: Draw the bow and have a friend check for
any bulge in the bow’s downward cable and a totally raised arrow rest arm
when the bow is at full draw.
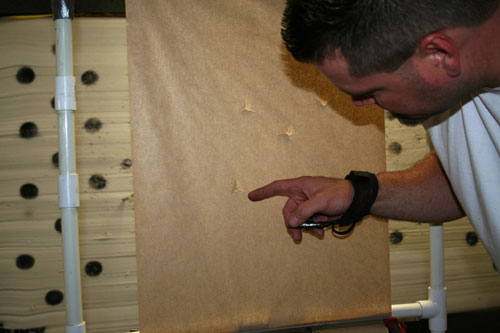
Step Seven: Shoot through paper: Shoot an arrow through paper from 20 feet away to see
how the arrow is flying.
Step Eight: Secure rest: Finally, secure the bolts for the rest’s horizontal and vertical blocks to
prevent it from shifting. Then mark the rest position and that of the football with a permanent
marker so you’ll know if any movement has occurred.
Editor’s Note: Jim Velasquez has been in the archery industry for more than 30 years as both an employee of big bow companies, the owner of a quiver company, and pro shop owner.