As deer seasons begin wrapping up around the country, most serious, hard-core bowhunters begin to reflect on what went right and what went wrong from the past season. In addition to these slide-show-type memory reels that run through our minds, we also begin testing and tinkering with new gear.
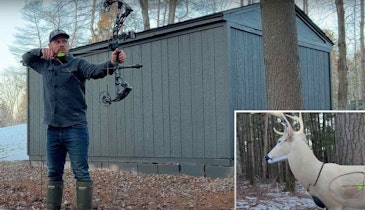
Let me make a suggestion: As your bowhunting mind starts to comb magazine pages in search of new and better gear that will up your whitetail backstrap count, take a peek at some of the new single-pin sights on the market. In my opinion, nothing beats a quality single-pin when it comes to necessary whitetail gear. Aside from being able to dial my pin to the exact yard, I also appreciate the clutter-free housing and single vertical aiming point.
The good news: We at Whitetail Journal took the time to test a few of these riser-worthy sight models. Take a peek and see what you think. You might just find a new addition to your whitetail arsenal.
Spot-Hogg
Many World War II historians recognize the Tiger II Tank as one of the most durable armored tanks ever built. I think when it comes to bow sights, the Spot-Hogg Hogg Father will be branded with the same reputation. Plain and simple, this thing is indestructible.
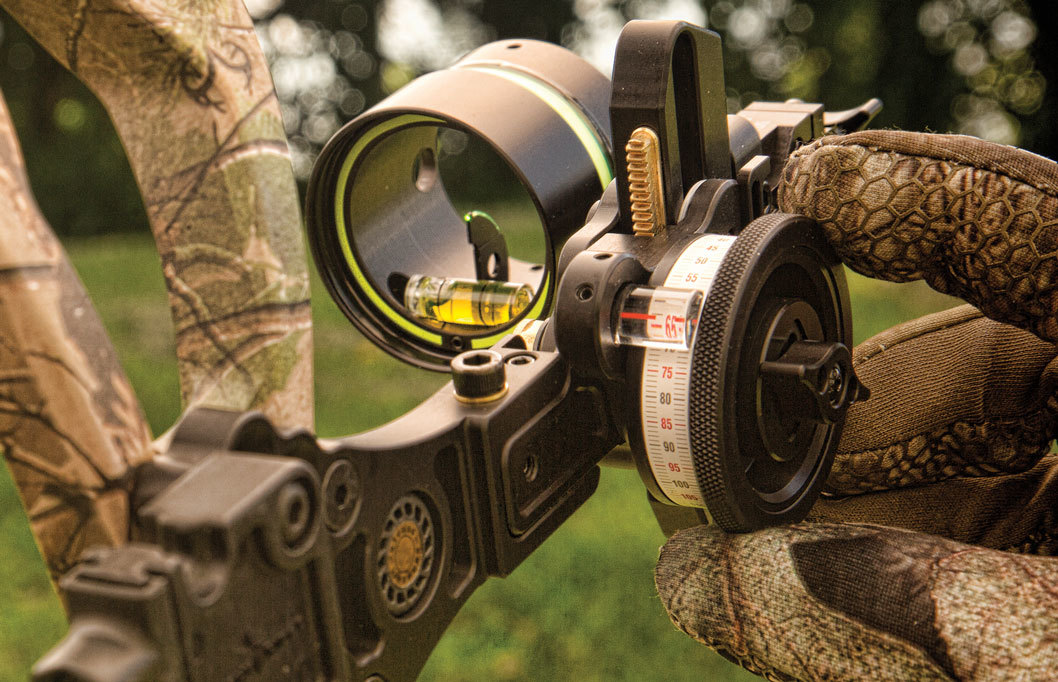
Assembly of the Hogg Father wasn’t overly complicated, and a video is available on the manufacturer’s website to help with the process. I highly recommend watching the Hogg Father “Overview” video before setting up. For those who skip the video, one very important thing to pay attention to is to take notes and write down the reading on the Bull Knob after you set the bottom of the rack flush with the bottom of the rail. Each time the rack is removed and reinstalled, the scale reading will need to be set back to the appropriate number in order for your yardage marks to be on.
I’ve been shooting a Hogg Father for a couple of years now, and one of the features I appreciate the most is the Quick Release Knob that allows the sight to move in or out along the dovetail bar. For those who shoot regularly, you won’t believe the accuracy you can obtain by sliding the sight further out and away from your bow.
I also appreciate the fact that the main sight body can be moved easily by removing a pair of setscrews that attach the sight body to the rack. This allows the shooter to maximize the sight’s adjustability and sight-in at longer ranges. Also sure to be cheered by single-pin fans is the sight’s no-tool micro-adjust windage and elevation. Spot-Hogg has always made accuracy a priority, and the Hogg Father puts an exclamation point on this. The vertical micro-adjust knob located under the Bull Knob (the wheel used to dial the sight to the appropriate yardage), when pushed all the way forward, allows you click-by-click to-the-yard adjustment. I was able, by taking full advantage of the sight’s lengthy rail, to dial the Hogg Father out to a distance of 140 yards. That’s pretty incredible.
Yes, I appreciate the sight’s many micro-adjustments and accuracy-enhancing second- and third-axis features, but what I love most, and what you hard-core hunters will love as well, is how quiet and smooth this sight is. At the shot the sight doesn’t buzz or hum, and the Bull Knob turns like butter. These are necessary hunt features that can make the difference between success and failure.
As far as fiber-optic brightness, I had zero issues with the Hogg Father. A series of wrapped fiber optics circle around the housing like a snake and feed into the durable pin from the bottom.
For more information, visit www.spot-hogg.com or call (541) 995-3702.
HHA Optimizer-Lite King Pin
What happens when you combine 20 years of single-pin sight-making experience with two previous generations of successful single-pin models? Well, in the case of HHA, you get the King Pin.
Having been an HHA fan for years, I was excited to give its newest model a test drive. As with previous models, setup isn’t complicated. You just use a pair of setscrews to attach the housing to the sight body and then use the 10-24 setscrews to mount the sight to your riser. Simple.
After turning the ultra-smooth and totally quiet hub wheel counterclockwise to position the slide in the upward-most position, I mounted my sight housing to the second-axis block in the highest (on the slide) set of holes that still allowed me to sight-in accurately at 20 yards. Yes, this takes some trial and error, but as with any single-pin, you want to maximize your yardage adjustment.
For those that like to get very technical, the King Pin provides easy second-axis adjustment. The second-axis block has a hole at the top and a slot at the bottom for attachment to the slide. Those looking to obtain precision accuracy should avoid positioning the bottom screw in the middle of the slot before tightening. I mounted my bow vertically plumb, snugged down the top screw and inserted the included wrench into the second-axis adjustment screws until the bubble was positioned between the included witness marks. It was a breeze.
I love the King Pin’s toolless windage and elevation adjustments. These save valuable time when sighting-in. I appreciate the click-type windage adjustment and the fact that I can watch the screw turn while spying the laser-engraved windage marks. Equally appreciated is the fact that HHA puts 1 Click = 1/8” AT 20 YDS on the windage portion of the sight.
I used the already attached set-up spool indicator when sighting-in and once I had my bow dialed at 20 yards, I wrote down the number on the set-up spool closest to the red indicator line. I did the same at 60 and then subtracted the two numbers. The result of my mathematics was 52. I applied the included number 52 tape to my wheel and was dead-nuts accurate out to 100 yards.
If I had to give a hunter/shooter appreciation award, the King Pin would get it. Yes, it was quiet (the Harmonic Damper ensures this), vibration-free and certified HHA-durable, but I appreciated the sight-tape magnifier perhaps more than any other feature. This handy tool reduced eye squinting when changing yardages and allowed me to dial the sight to the ¼ yard with ease.
For more information, visit www.hhasports.com or call (800) 548-7812.
TruGlo Archer’s Choice Range Rover
Thirteen years ago, the first sight I attached to my bow’s riser was a standard five-pin TruGlo. The sight was tough, accurate, quiet and bright. I’m happy to report, at least when it comes to the Archer’s Choice Range Rover, the aforementioned features haven’t gone by the wayside. Better yet, this assembled-in-the-package single-pin features plenty of new technologies sure to appeal to the single-pin crowd.
The single .019-inch pin stands very tall in the housing – a housing featuring a glow-in-the-dark shooter’s ring – and the leveling bubble is attached securely in a bubble bracket anchored to the bottom of the housing. Personally, I appreciate this design. Some leveling bubbles (specifically those that are glued in) wiggle loose over time and pop out. The pin proved, as with most TruGlo sights I’ve used over the years, to be exceptionally bright. Plus, the sight comes with an attached rheostat light with on/off indicator marks.
Adjusting windage was a breeze via the wing-nut-shaped toolless windage adjustment and laser-engraved adjustment marks. Much appreciated was the fact that once precise windage was achieved, an Allen wrench could be used to snug the windage knob down ultra-tight. As for elevation, I loosened the yardage-lock screw attached to the super-smooth Zero-In Adjustment Dial and rotated the dial in a counterclockwise motion until the sight bottomed out. Doing so guarantees full range of the Rover’s yardage dial. Next, I loosened a pair of 9-64 setscrews that attach the sight to the sight body and used the laser-engraved reference marks. This takes some trial and error, but it took me less than 10 minutes to have the sight zeroed-in at 20 yards.
The sight comes with a pre-attached sight tape, which makes the sight-in process super easy. After getting my 20-yard mark dialed, I once again used the process of trial and error to sight-in at a distance of 60 yards. Using an ink pen, I made lines for my 20- and 60-yard marks and carefully peeled the attached sight tape off. I then matched the marked sight tape with one of the included 84 pre-marked tapes, cleaned my sight rail with an alcohol pad and attached my new tape. It was dead-on accurate out to a distance of 100 yards.
Other appreciated sight features included the adjustable quiver-mounting plate and protected extra-long fiber, which coils around the housing like a snake. If I had to be a bit picky, I would like to see a more secure sight-housing-to-windage-rail attachment. The single setscrew is somewhat difficult to access, and I noticed that after about 100 arrows, the sight began to produce a very low buzz, which seemed to originate at this attachment point.
For more information, visit www.truglo.com or call (888) 887-8456.