We’ve all been there — calling the local pro shop for the umpteenth time or craning our neck each time we pull into the drive. There’s nothing quite like waiting for a new bow to arrive.
Recently, thank God, my anxiety was alleviated. I could see the Hoyt-branded box leaning against my front door. Man, I love UPS. Being a pro shop owner, I set up my own bows, but this is a task I find myself doing less and less for others as of late. Bowhunters are self-sufficient by nature, and more and more are setting up their own rigs in garages, basements and man caves. If you’re one of these DIYers or are hoping to become one, settle in. I’m going to shed some light on how I take a new bow from the box to the field.
From our June issue
The first step is to unbox the bow and do a general inspection. What are we looking for? Anything that doesn’t look right. A bent cam, separated serving, a cut string or cable, chipped paint, machining marks, etc. Basically, we want to make sure our new investment is picture-perfect. Chances are it will be. Most quality bow manufacturers put each rig through a rigorous inspection and tuning process.
Next, read your bow owner’s manual from front to back. Here you will find specific setup and tuning do’s and don’ts for your bow.
Draw the bow in order to check cam timing. If the draw stops aren’t hitting at the exact same time, the bow needs to take a trip to the press. Note: Be sure you select and invest in a press that will work with today’s parallel and past-parallel limb designs. Using a lesser press could result in severe bow damage or personal injury. I recommend a press like the X-Press Pro Bow Press or Last Chance Archery EZ Deluxe Press.
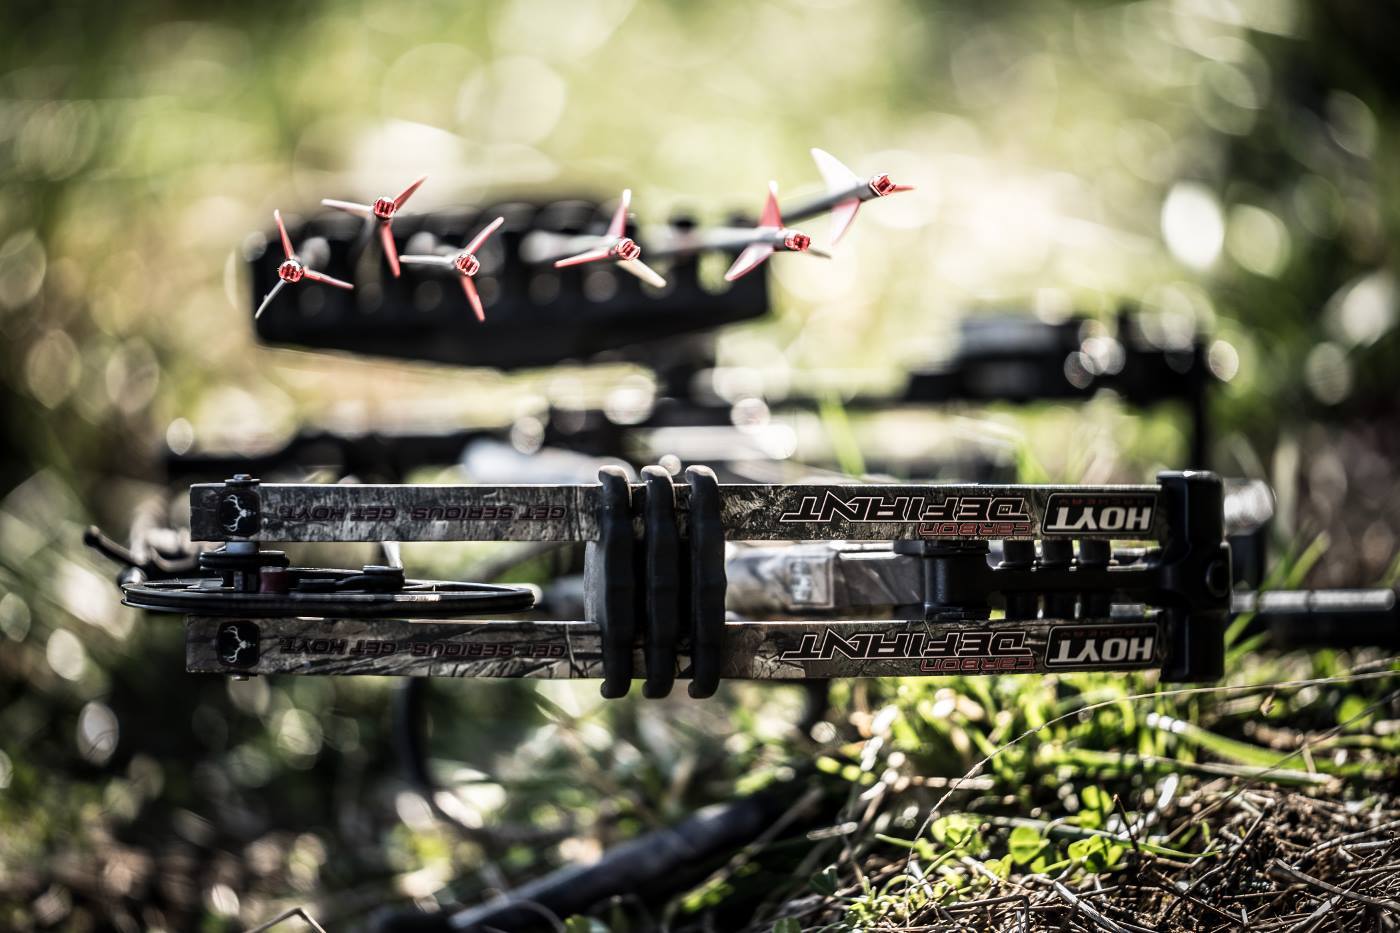
In the case of my Hoyt Defiant Turbo, the bottom cam was hitting about a quarter-inch before the top. To remedy this, I pressed the bow and took two twists out of the control cable on the top cam, and added two twists to the buss cable on the bottom cam. Remember, if your bow is out of time, getting proper arrow flight is out of the question.
With my cams timed, I was ready to begin arrow rest installation. No matter what bow you’re setting up, a good rule of thumb is to set the rest so the arrow runs center of the berger hole in the riser. My Hoyt Defiant Turbo boasts a rubberized shelf, so I had to take an educated guess, but all I’m looking to do is get somewhat close. Next is center shot. Hoyt suggests a center shot set between 5⁄8 and 1 inch.
The rest I installed is Vapor Trail’s Pro V — a limb-activated rest that drops quickly and supports the arrow for a good part of the draw cycle. When using any limb-activated rest, first attach the timing cord to the top or bottom limb (I typically choose the top), but don’t attach the cord to the rest until after the D-loop is installed.
Using an R.S. string level, I level my bow in my bow vise. Next, I place my arrow of choice on the rest and nock it on the string. Now I place the level on the arrow 3 to 4 inches in front of the riser. Leveling the arrow, I take a Sharpie and mark a spot on the string above my nock. This is where I tie in the first soft nock, which consists of a piece of serving tied in two half-hitch knots. After the first soft nock is tied, I re-nock the arrow and tie another soft nock below the arrow nock, leaving a small gap between the arrow nock and the soft nock below. By doing this, I have eliminated nock pinch as well as eliminated any chance for my D-loop to move up or down the string.
When tying on a D-loop, you always want your knots opposite one another. I always start with the top knot, and on a right-handed bow I tie the top knot so the D-loop is coming off the left side of the string. This will create less string torque at full draw because of the angle of the D-loop. This is even more important if you use a handheld release. A great video that demonstrates how to properly tie in a D-loop can be viewed at bit.ly/2m46lgM.
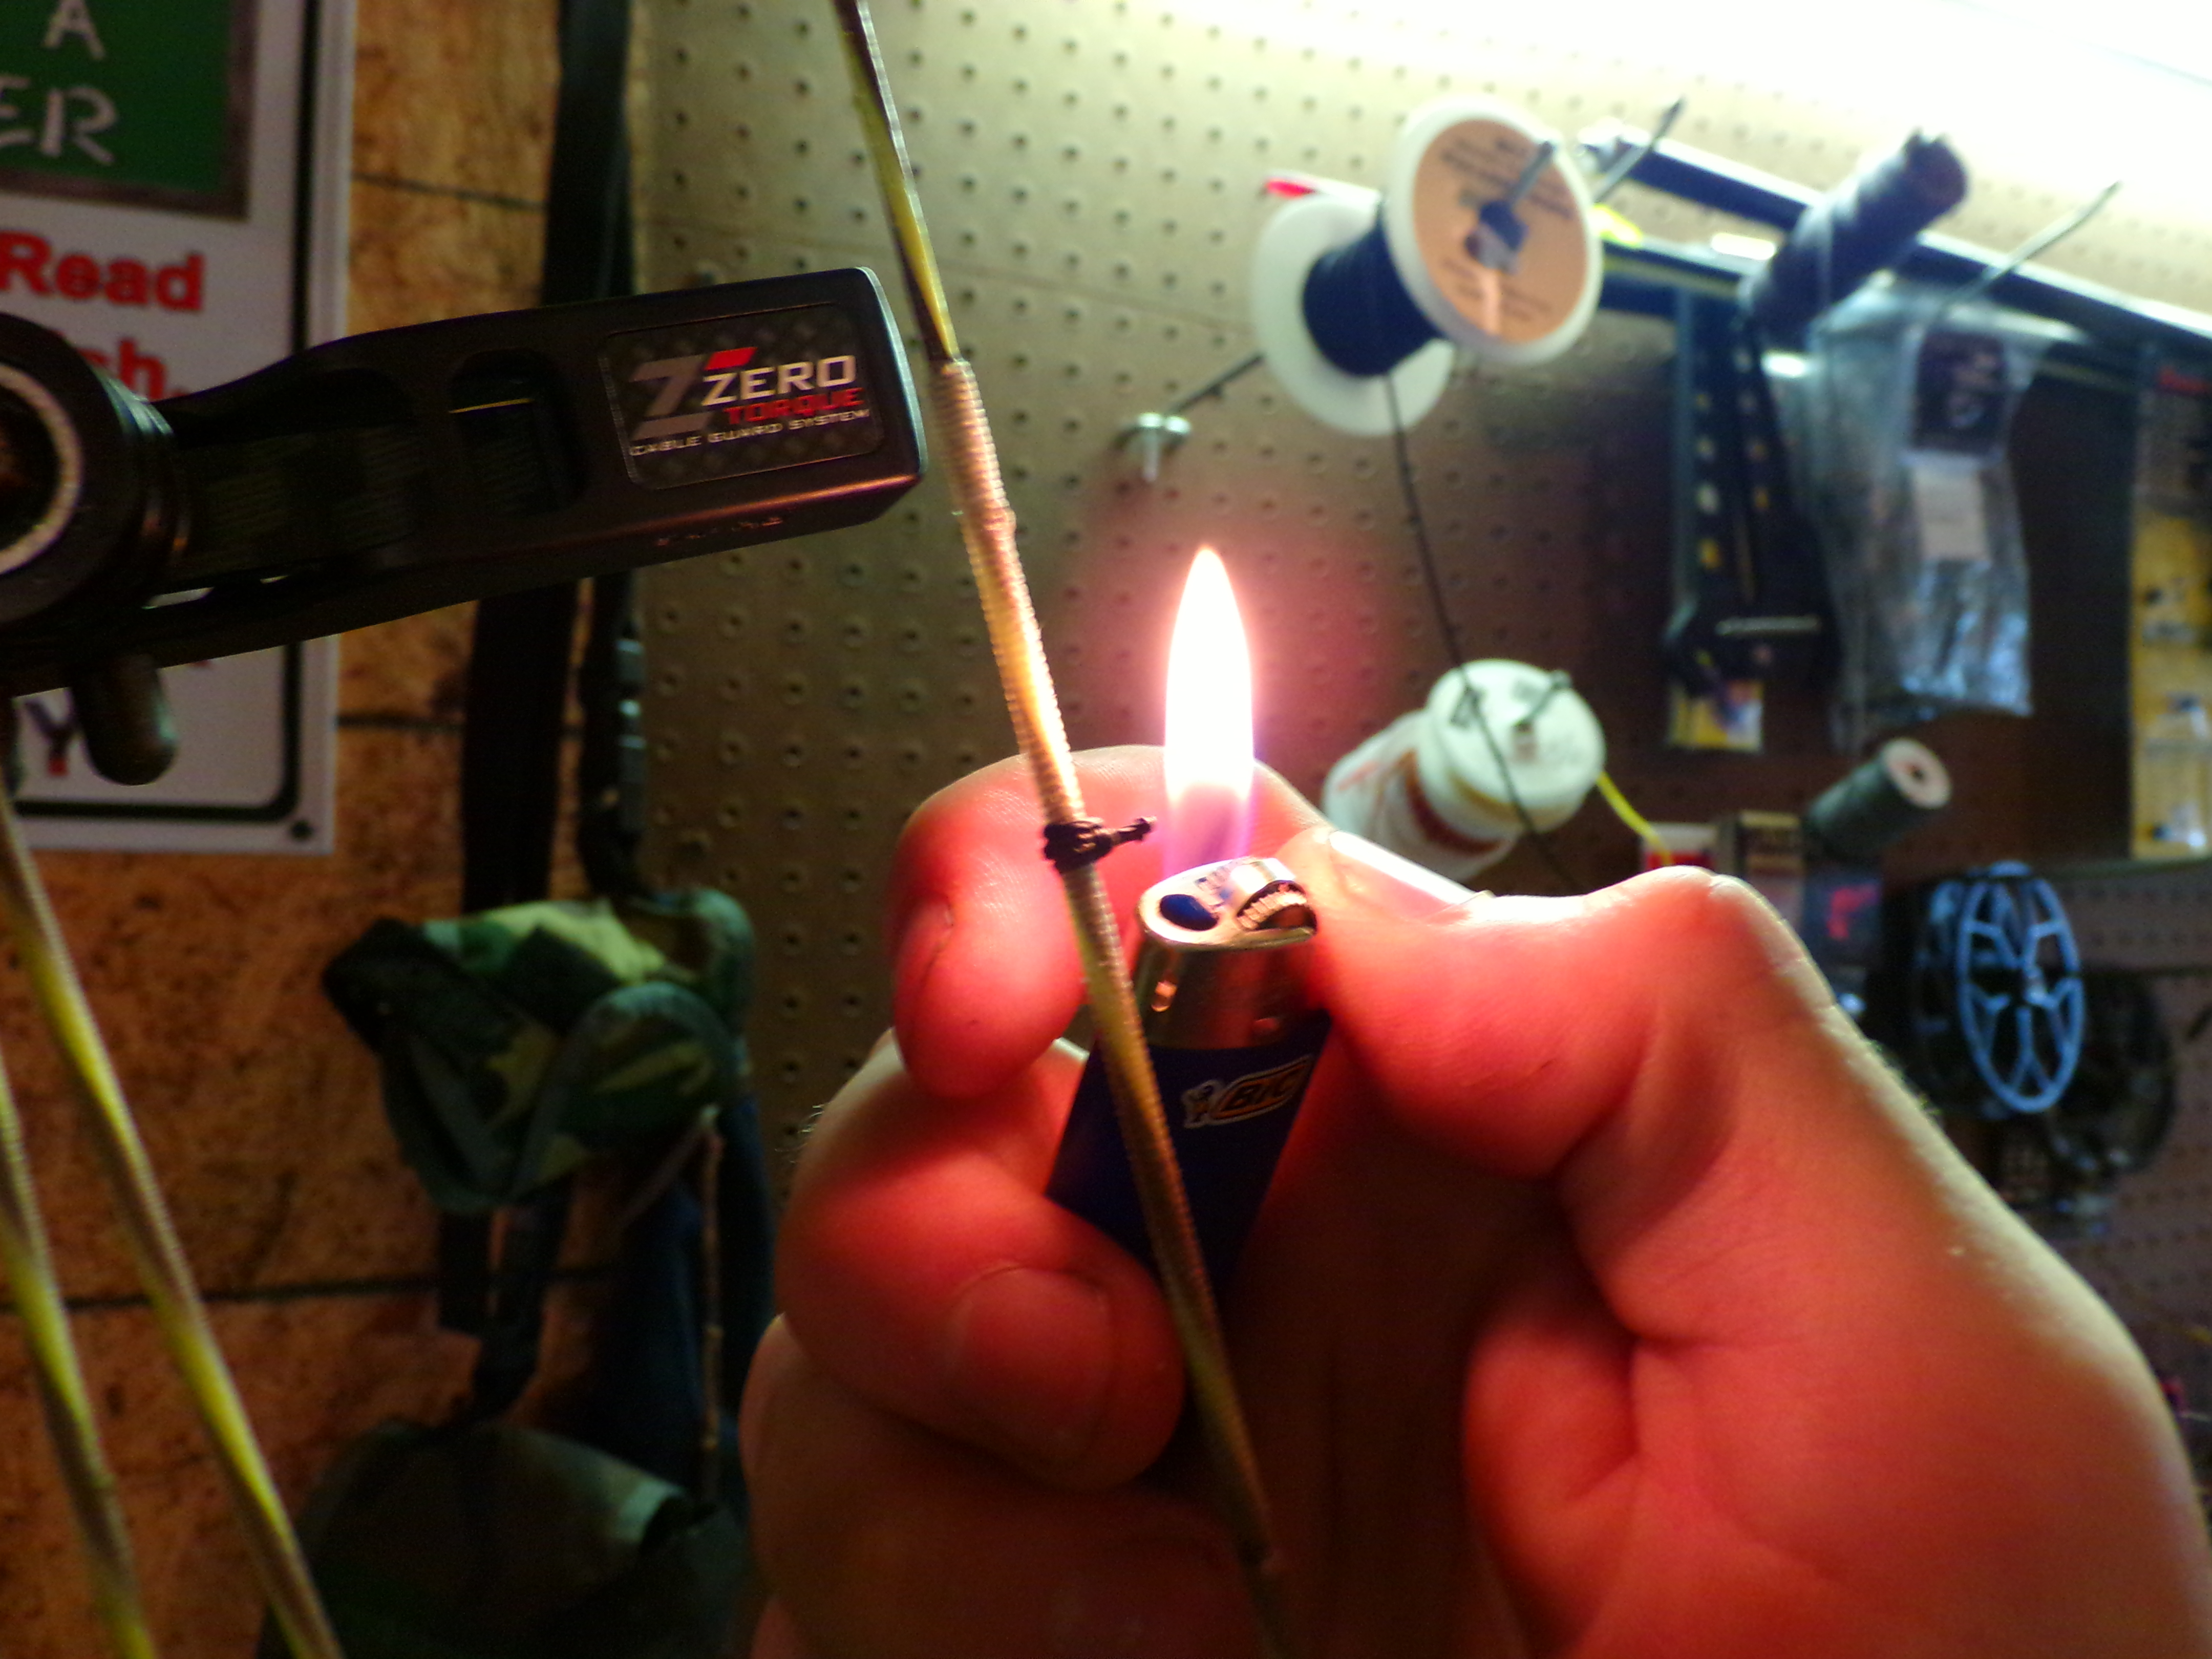
Soft-nock points eliminate accuracy-robbing nock pinch and prevent the D-loop from sliding up or down the string.
To install your peep sight, you’ll need to press the bow to lessen tension on the string. For the average-sized person, 6 inches from the center of the D-loop is a good place to start. Separate the strands of the string so there is an equal amount on both sides of the peep. Two-color strings make this process a lot simpler. After getting the peep between the string at your desired starting height, hold tension on the string as you release the tension off the press.
Remove and draw your bow to see if the peep height is correct. Always, always nock an arrow when confirming peep height to prevent bow damage and injury. Draw the bow with both eyes closed. Keep them closed until you have anchored the bow properly on your face. The proper anchor is the string slightly touching the corner of your mouth as you touch the string with the tip of your nose. Once you have anchored, open your eyes. If you can’t see clearly through the peep, let the bow down and slide the peep to where you think it should be. Repeat this process until you can draw with both eyes closed, anchor and see through your peep clearly without moving your head. Once perfect peep height is attained, tie it in. My personal peep size preference is 3⁄16. If you’d like to watch a video on how to tie in a peep sight, there’s a great one at bit.ly/2lZoEDH.
We want to make sure all tuning is done with your sight, stabilizer and quiver (if you plan to shoot with it) on the bow.
Paper tuning is the next step in the process. I shoot through paper from a distance of roughly 6 feet. My first shot through paper produced a low right tear. In order to fix this, I had to move my rest down and away from the riser. My Vapor Trail Pro-V has horizontal and vertical marks. When paper tuning, I only move my rest one mark at a time. After moving the rest, my next shot was a perfect arrow hole through the paper. For more information about how to tune your bow based on a specific type of tear, go here.
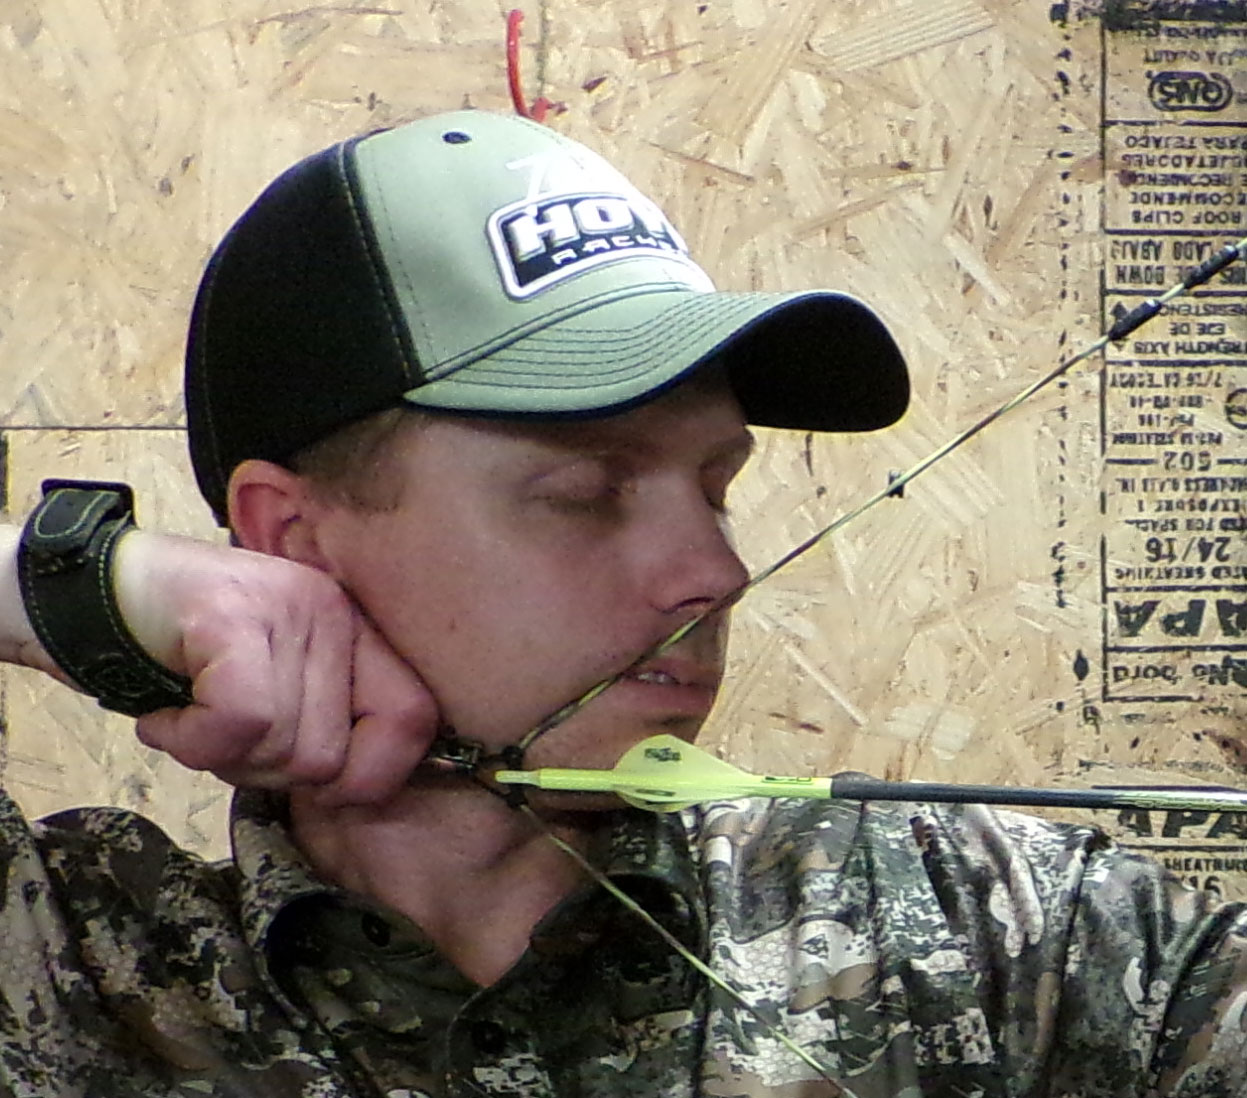
Keeping your eyes closed and not opening them until the perfect anchor is achieved prevents tilting the head up or down to compensate for less-than-perfect peep placement.
I start the sight-in process at a distance of 10 yards to promote arrow survival. Arrows are expensive, and you don’t want to break one by stepping immediately back to 40 yards. Once I’m spot-on at 10 yards, I back up and sight-in my other yardages. I recommend really fine-tuning your left and right at your mid-range. I shoot a five-pin Black Gold Verdict Ascent, which I sight-in out to 70 yards, so 40 yards is my mid-range and the range at which I really fine-tune my sight. Once sighted-in, I put 200 to 300 shots on my string and cables to break them in and allow for any stretch.
After I’m certain my string and cables are broken in, I start with the re-tune process — checking the timing first and then shooting through paper to recheck arrow flight. Satisfied that the string hasn’t stretched or moved, I take it a step further. (Note: If the string has stretched or moved, cam timing will be off, and back in the press the bow goes.) The raw shaft tune is very similar to paper tuning, but you use an arrow without fletchings. Upon firing my first raw shaft at a distance of 10 yards, I noted that my shaft was kicking slightly high and left. This required that I adjust the rest up and toward the riser, but because the kick of the arrow was ever so slight, I only adjusted the rest half a mark this time. After making the move, I stepped back to 20 yards. The result was a bright yellow nock pointing straight back at me.
My family depends on me each fall to fill the freezer with wild game meat, and I refuse to take a chance on my equipment. I am now positive my bow is tuned, sighted-in and ready for all I will throw at it this fall. Whether it is the mountains in September or the treestand in November, if I fail, it won’t be my equipment’s fault.
Featured image: Hoyt Archery (Facebook)