It’s safe to say nocks get little, if any, “bowhunting gear glory.” After all, they are just a simple piece of plastic that slides into the back of your shaft and attaches that shaft to your string, right? No, this isn’t a trick question. That’s exactly what nocks do. However, they do deserve a lot more attention than we often give them, and these four quick nock tips are sure to boost your accuracy and increase overall arrow safety.
- The first thing I do after getting a dozen bare shafts – after I finish gawking at them, of course – is remove the nocks and reinsert them. Why? I want to make sure every nock in the dozen fits perfectly back into the shaft. To remove a nock, you should simply be able to pull on the arrow shaft with one hand, using the other to grasp the nock and create a twist/pull motion. The nock should twist right out. Once I get all 12 nocks out, I inspect each for any signs of visible damage. If no visible damage is found, I grab my Bohning string wax, rub a little on my finger and massage a small amount of wax on the piece of the nock that slides back into the shaft. I do this for all 12 nocks. Next, I use a nock insert tool and reinsert each of the waxed nocks back into the shaft. This is an important step. Most “new” nocks are too tight, and you don’t want this. A nock that is too tight is more apt to bend or crack, which can lead to major accuracy and, worse yet, safety issues.
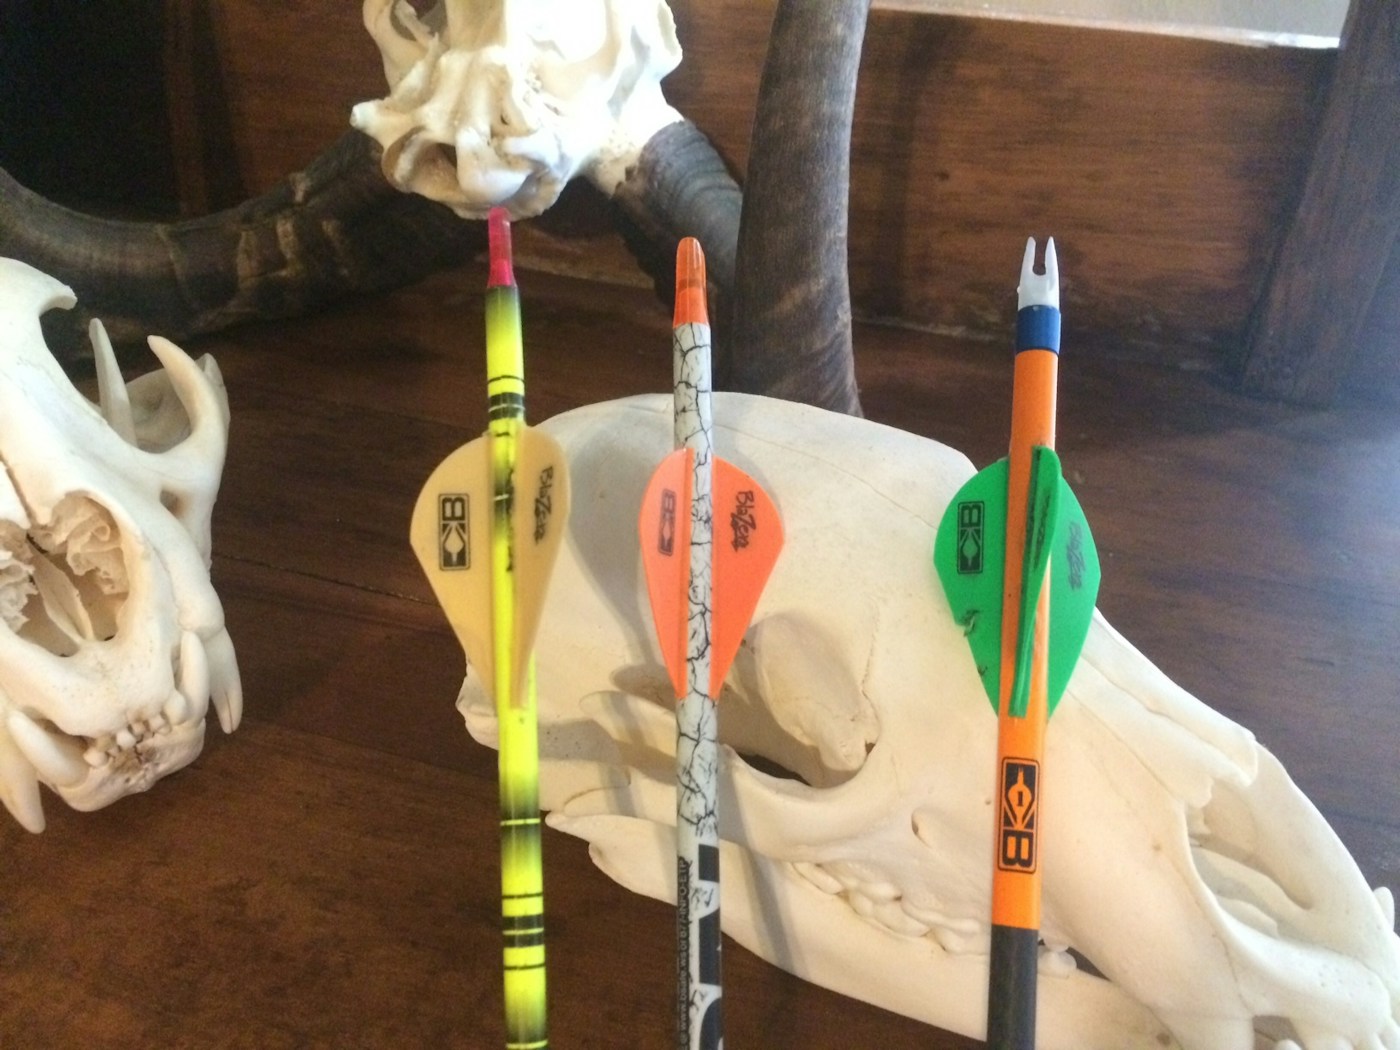
- After fletching your new arrows and shooting them, be sure to use a permanent maker (a gold or silver Sharpie is my favorite) to mark your “perfect-tune” nock positon. That’s right, I want to make sure that once I achieve perfect bare-shaft and fletched-shaft tunes, my nocks don’t move. Placing a marker line on the nock and then running that line onto the arrow shaft or wrap keeps everything visible.
- Once you start shooting your arrows, especially once you start shooting groups and slapping shafts together, be sure to inspect your nocks for damage regularly. Remember, they are made of plastic and plastic can crack and break. If a nock is damaged in any way, remove and replace it immediately. Other signs of nock failure include a nock throat that no longer clips tightly to the bowstring. This is a sure sign of an expanded throat, and the nock needs to be tossed out.
- I have found some nocks simply get loose inside the shaft, especially over time. A good test if you feel a nock is getting too loose is to attach the nock (be sure the nock is inside an arrow) to the bowstring and then gently pull on the arrow. If the arrow pulls away from the nock, leaving the nock hanging on the string, it is too loose. Typically, I will toss this nock and replace it, but if you are in a pinch, cut a square out of a thin Ziploc bag, place the bag over the hole in the arrow where the nock is to be inserted into and push the nock (using a nock tool) down inside the shaft. The nock will naturally pull the Ziploc plastic down into the shaft, leaving you with a little excess sticking out. Simply trim this excess away and then melt it down with a lighter. Your nock will once again fit snugly. Just remember, this is a quick fix and the nock should be replaced sooner rather than later.